BasideWT- Whole Home Water Filtration System & Replacement

How to Change Resin in DI Tank?
Do you use a deionization (DI) system? Over time, its resin becomes exhausted. Therefore, learning to change resin is essential. This guide offers a deep dive into the process. It ensures your DI tank functions optimally. Let’s explore why and how to do it right.
Why Replace Resin in Your Deionization Tank?
Resin removal and replacement might seem tedious. However, it is crucial for water purity. Old resin loses its ion-exchange ability. For example, it can no longer remove minerals effectively. Consequently, water quality drops. Regular resin renewal maintains system efficiency. It also prevents costly damages. Think of it as routine maintenance for lasting performance.
Preparing for Resin Replacement
Before starting, gather necessary tools. You’ll need new resin, gloves, and a bucket. Safety first! Always wear protective gear. Specifically, check the tank’s manual for guidelines. This preparation minimizes risks. It also streamlines the entire process. Ready to begin? Let’s move to the steps.
Step-by-Step Resin Change Procedure
Draining the DI Tank
First, turn off the water supply. Then, open the drain valve. Allow all water to empty. This step prevents spills. Keep a container handy. Why is this important? It ensures a dry workspace.
Removing Old Resin Material
Next, carefully open the tank. Use a scoop to extract spent resin. Dispose of it properly. For instance, follow local waste rules. Avoid rushing this step. Gentle handling protects the tank interior.
Cleaning the Tank Interior
After removal, clean the tank. Wipe it with a damp cloth. Check for any residues. This prevents contamination. A clean tank extends new resin life. Therefore, take your time here.
Adding Fresh Resin
Now, pour new resin slowly. Fill the tank to the recommended level. Avoid overfilling. Why? It ensures proper water flow. Finally, seal the tank tightly. Your system is almost ready.
Post-Replacement Checks and Testing
Once done, restart the water supply. Run water through the system. Test the output for purity. Use a TDS meter for accuracy. If readings are high, recheck the steps. This verification guarantees success.
Common Mistakes to Avoid During Resin Exchange
Many users rush the process. However, haste causes errors. For example, skipping safety measures. Or using wrong resin type. Always double-check instructions. Patience here saves future troubles.
RELATED POSTS
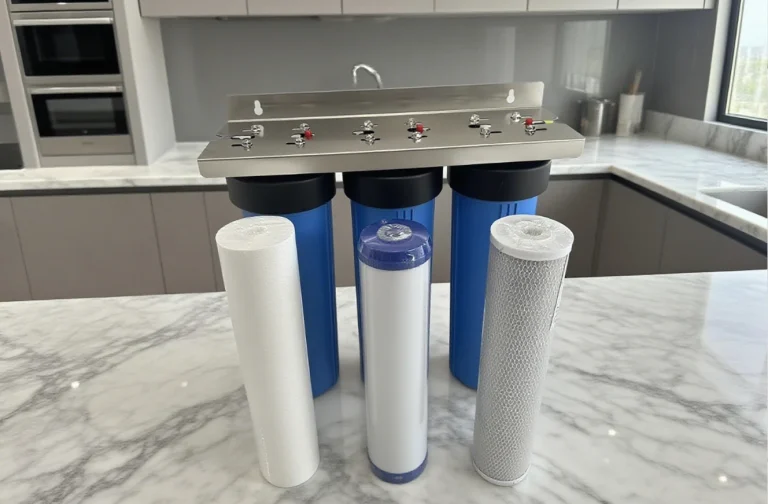
What Is a Whole Home Water Filtration System?
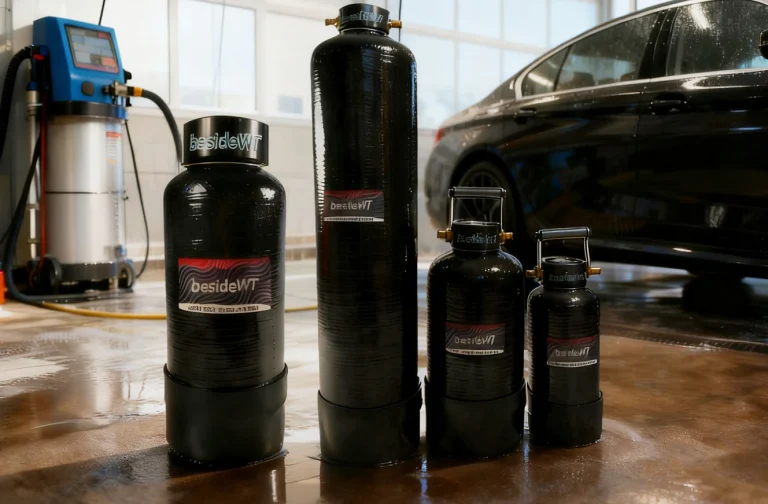
Best Deionized Water System For Car Washing
What is a Watermaker on a Boat?
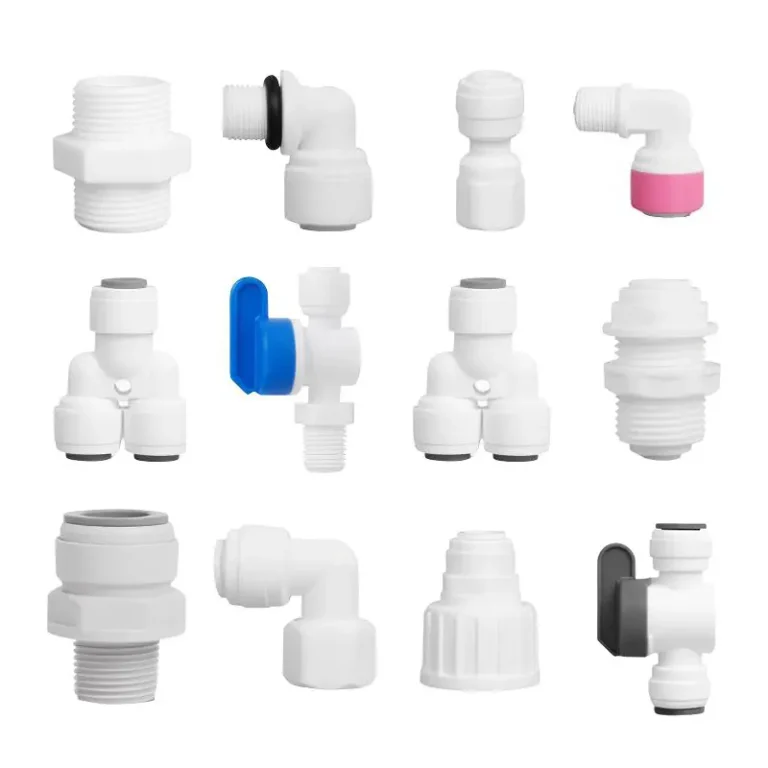
Water Purifier Quick Connector RO Purifier System Water Filter Joint Accessory
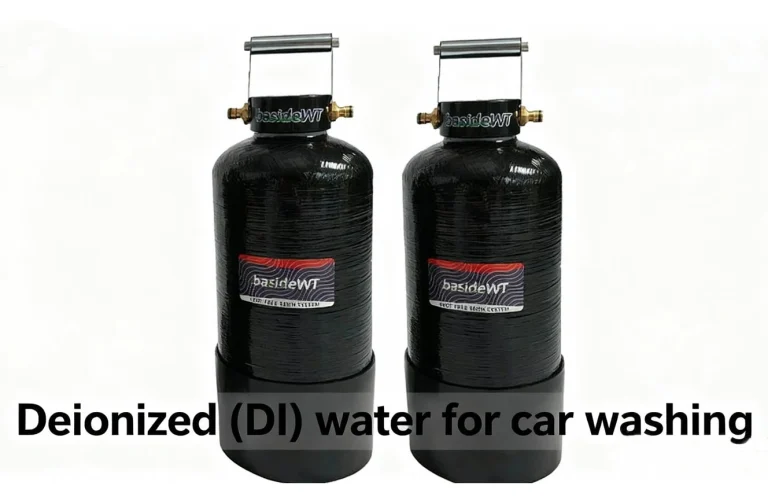
DI Water for Car Washing: The Ultimate Guide to Perfect, Spot-Free Drying