BasideWT- Whole Home Water Filtration System & Replacement


how to install a water treatment system
Installing a water treatment system in your home is an excellent way to ensure that the water you and your family consume is clean, safe, and free from harmful contaminants. Whether you’re opting for a whole-house filtration system, an under-sink filter, or a reverse osmosis (RO) unit, proper installation is key to maximizing its effectiveness. In this article, we’ll provide a detailed, step-by-step guide on how to install a water treatment system in your home, highlighting key considerations, common installation methods, and potential pitfalls to avoid.
Why Install a Water Treatment System?
Before diving into the installation process, it’s important to understand why you might need a water treatment system. There are several reasons homeowners opt for these systems:
- Contaminants: Your local water may contain harmful substances, including chlorine, fluoride, lead, bacteria, and sediments.
- Taste and Odor: Even if your water is technically safe to drink, it may have a strange taste or smell due to certain chemicals or minerals.
- Health Concerns: A filtration system can help remove harmful microorganisms and improve water quality.
- Hard Water: A water softener can help eliminate minerals like calcium and magnesium, which cause scale buildup in pipes and appliances.
Now, let’s explore how to install the most common types of water treatment systems.
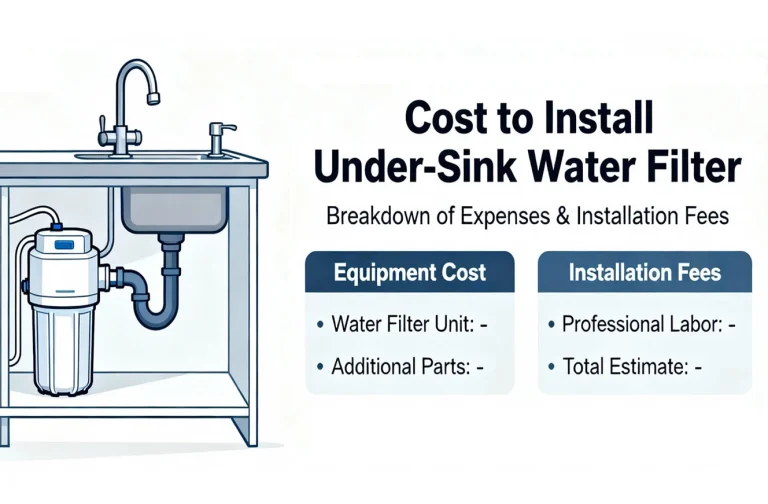
1. Installing a Point-of-Use Water Treatment System (Under-Sink or Faucet Filters)
What You’ll Need:
- Point-of-use filter (e.g., under-sink filter, faucet-mounted filter)
- Wrench
- Adjustable pliers
- Teflon tape (plumber’s tape)
- Bucket or towel to catch excess water
- Drill (if mounting a filter)
Step-by-Step Installation:
- Shut Off the Water Supply
Begin by turning off the cold water supply to the sink where you’ll be installing the filter. This can usually be done using the shutoff valve located under the sink. - Remove the Faucet or Current Filter (If Applicable)
If you’re installing an under-sink filter, you may need to remove the existing faucet or water filter. Use an adjustable wrench to detach the faucet, being careful not to damage any plumbing. - Install the Filter Housing
Attach the filter housing or the faucet-mounted filter. For under-sink units, you’ll typically install the system under the sink using screws or brackets to secure it in place. - Connect the Water Supply Line
Attach the cold water supply line to the filter’s input port. Use Teflon tape around the threads to create a watertight seal. Tighten the connection with pliers. - Install the Filter Cartridge
If the system requires a filter cartridge (e.g., activated carbon, sediment filter), insert it into the filter housing following the manufacturer’s instructions. - Connect the Output Line
Attach the output line from the filter to your faucet or spout, ensuring it’s properly secured and tightened. - Test the System
Turn the water supply back on and check for leaks. Turn on the faucet to flush the filter and ensure the system is working correctly.
Considerations:
- Under-sink filters typically need to be replaced every 6 months to a year, depending on the type and usage.
- If installing a faucet-mounted filter, ensure the faucet has a diverter to switch between filtered and unfiltered water.
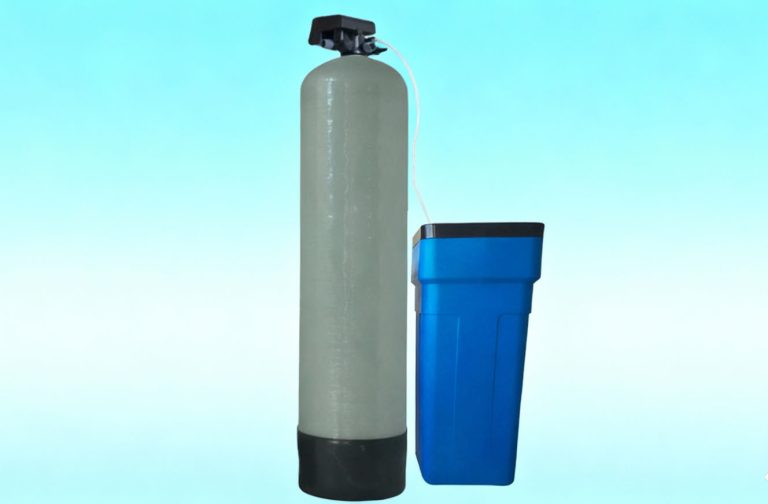
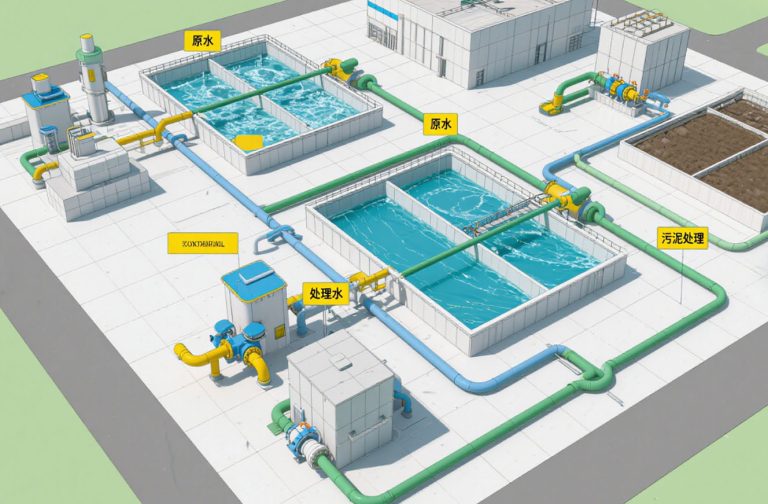
2. Installing a Whole-House Water Treatment System
A whole-house water treatment system filters all the water entering your home, providing purified water to every faucet and appliance. These systems can include sediment filters, activated carbon filters, water softeners, and sometimes even UV purifiers.
What You’ll Need:
- Whole-house filtration system (e.g., carbon, sediment, or reverse osmosis filter)
- Wrench
- Pipe cutter or hacksaw
- Teflon tape
- PVC piping and connectors (if needed)
- Drill
- Plumbing fittings
Step-by-Step Installation:
- Shut Off the Main Water Supply
Before you begin, shut off the main water supply to your home to prevent flooding or leaks while you install the system. - Prepare the Installation Area
Choose a location for the system, typically where the water enters your home, such as in the basement, garage, or utility room. Make sure there’s enough space for the unit and easy access for future maintenance. - Cut the Main Water Line
Using a pipe cutter or hacksaw, cut the main water line where you want to install the filter. Be prepared to catch any residual water with a bucket or towel. - Install the System Housing
Mount the filter housing securely in place. Depending on the system, you may need to use brackets or screws to attach the housing to the wall. - Connect the Inlet and Outlet Lines
Attach the inlet and outlet water lines to the system using the appropriate fittings. Use Teflon tape on all threaded connections to ensure a tight seal. - Connect the System to the Plumbing
Once the filter housing is in place, connect the inlet and outlet pipes to the main water line using the appropriate plumbing fittings. This may require additional PVC piping and connectors. - Test the System
Once the plumbing connections are secure, turn the water supply back on. Check for leaks at every connection point. If the system includes a pressure release valve, ensure it’s functioning properly. - Flush the System
Run water through the system to flush out any air or particles. Some systems require you to flush for several minutes to ensure optimal performance.
Considerations:
- Whole-house systems require more space and are typically more complex to install than point-of-use systems.
- These systems may require professional installation if you’re not comfortable with plumbing work.
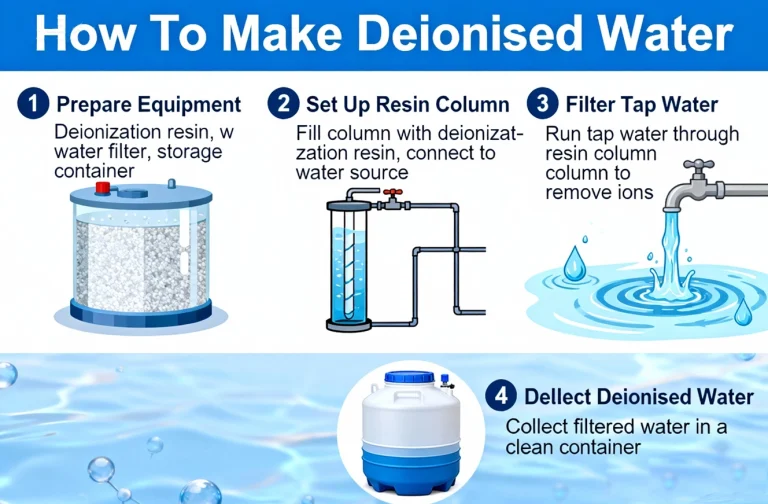
3. Installing a Reverse Osmosis (RO) Water Treatment System
Reverse osmosis is a powerful filtration method that removes a wide range of contaminants, including heavy metals, bacteria, and minerals, to provide purified drinking water.
What You’ll Need:
- Reverse osmosis system
- Drill (for mounting)
- Adjustable wrench
- Teflon tape
- Tubing and connectors (included with RO system)
Step-by-Step Installation:
- Shut Off Water Supply
Just like with other systems, begin by turning off the water supply. - Install the RO Filter Under the Sink
Mount the RO system under your kitchen sink, following the manufacturer’s instructions. Most systems will have brackets for easy mounting. - Install the Faucet
Drill a hole in the sink or countertop to install the dedicated RO faucet. The faucet will be used to dispense filtered water. Tighten the faucet in place using the provided fittings. - Connect the Water Lines
Attach the cold water supply line to the RO system’s inlet port. Again, use Teflon tape for a leak-proof seal. Connect the waste water line to the drainpipe (this will carry away the brine and impurities). - Connect the Product Water Line
Connect the filtered water line from the RO system to the new faucet. - Test and Flush the System
Turn on the water supply and check for leaks. Once the system is connected, flush the RO system by running water through it for several minutes to clear out any debris and air.
Considerations:
- Reverse osmosis systems waste water, typically 3–4 gallons of water for every gallon of purified water produced, so be sure to consider this when choosing a system.
- RO systems should have their filters replaced every 6 to 12 months.
4. Maintaining Your Water Treatment System
Installation is just the beginning; proper maintenance is essential to keep your system working efficiently. Here are a few tips:
- Regular Filter Changes: Many systems, including RO units and carbon filters, require regular filter changes to maintain performance.
- System Flushing: Regularly flush the system to prevent the buildup of minerals and contaminants.
- Check for Leaks: Inspect connections periodically to prevent leaks that could lead to water damage.