BasideWT- Whole Home Water Filtration System & Replacement


How To Make A Reverse Osmosis Water Filter?
Pure, great-tasting water is a cornerstone of health. Many seek the pinnacle of water purification: reverse osmosis. This leads to a compelling question. Can you build a system yourself? This guide will meticulously explore how to make a reverse osmosis water filter. We will detail the process, components, and crucial safety considerations. Understanding how to make a reverse osmosis water filter is a rewarding project for any DIY enthusiast. However, we will also examine why professional systems, like those from BasideWT, often represent a smarter, safer choice for guaranteed purity.
Understanding the Science of Reverse Osmosis
Before assembling anything, you must grasp the core principle. Reverse osmosis (or RO) is a sophisticated filtration process. It forces water through a semi-permeable membrane. This membrane has incredibly tiny pores. These pores are minuscule enough to block dissolved salts, impurities, and molecules. What passes through is nearly pure H₂O.
Think of it like an ultra-fine sieve. It separates water from the vast majority of contaminants.
However, it is noteworthy that this process requires significant water pressure. It is not a passive filtration. Therefore, boosting pressure is a key part of the build.
Essential Components for Your DIY RO System
You cannot build a system without the right parts. Sourcing quality components is the first practical step in learning how to make a reverse osmosis water filter. Here is a breakdown of the essential elements:
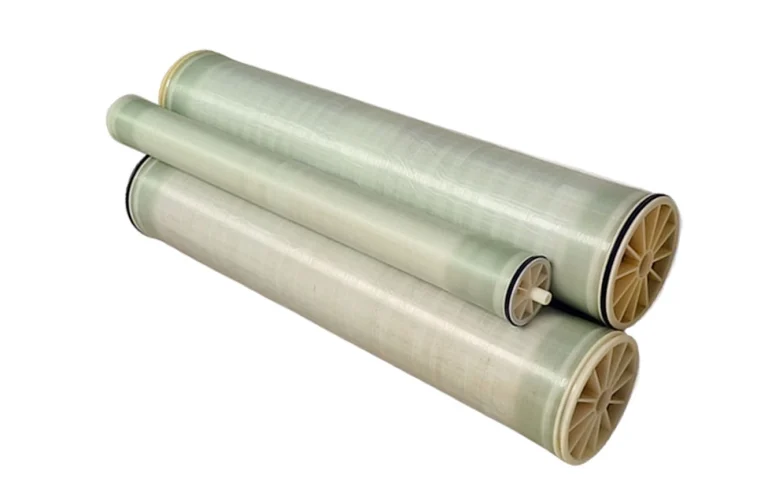
The Reverse Osmosis Membrane
This is the heart of the entire system. It is a cylindrical object housed in a separate vessel. This component performs the critical separation.
Pre-Filtration Stages
The membrane is delicate. It must be protected. You need sediment and carbon pre-filters. The sediment filter removes dirt and rust. The carbon filter eliminates chlorine, which can damage the RO membrane.
Post-Filter and Storage
The water is now pure. It then flows into a storage tank. A final carbon “polishing” post-filter ensures perfect taste when you pour a glass.
The Housing Assemblies
These are the canisters that hold your filters. You will need one for each pre-filter, the post-filter, and the membrane housing.
Valves and Fittings
An automatic shut-off valve is crucial. It conserves water. You will also need a check valve, a flow restrictor, and various tubing connectors.
Assembling these parts correctly is the core challenge.
A Step-by-Step Assembly Guide
Safety first! Always wear protective gear. Ensure your workspace is clean and well-lit. Follow these steps carefully.
Mounting and Connecting Filter Housings
Securely mount all filter housings to a board. This provides stability. Connect them in series using the plastic tubing. The standard order is: sediment pre-filter first, then carbon pre-filter.
Integrating the RO Membrane Housing
Next, connect the output from the carbon pre-filter to the “in” port on the RO membrane housing. The membrane itself must be inserted correctly into its vessel. This step is precise.
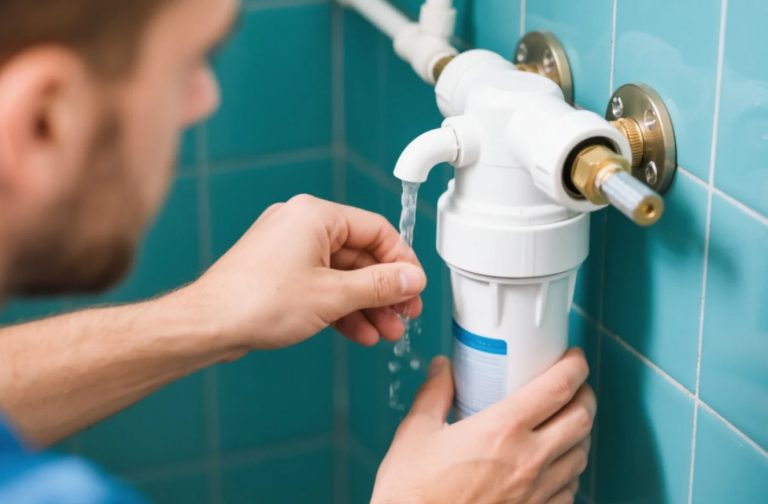
Installing the Storage Tank and Faucet
Run tubing from the membrane housing to the storage tank. Install the dedicated RO faucet at your sink. Connect the tank and the post-filter to this faucet.
Interestingly, the flow restrictor is a small but vital part. It must be installed on the “brine” or wastewater line. This device creates the necessary backpressure for the RO process to work efficiently.
The Crucial Limitations and Risks of a DIY Build
Building your own system can be an educational project. It offers a sense of accomplishment. But you must be aware of the significant drawbacks.
The Performance and Certification Gap
A professionally built system undergoes rigorous testing. It is certified by bodies like NSF to meet specific contaminant reduction standards. Your DIY build will lack this independent verification. Can you truly trust its performance?
Potential for Leaks and Water Damage
The connections you make are potential failure points. An improperly secured tube can lead to a major leak. This might cause expensive damage to your cabinetry or flooring.
The Critical Issue of Wastewater Ratio
RO systems produce wastewater. Commercial systems are engineered for optimal efficiency. A DIY system might have a poor wastewater-to-clean-water ratio. This wastes a significant amount of water.
Therefore, while learning how to make a reverse osmosis water filter is valuable, relying on it for daily drinking water carries inherent risks.
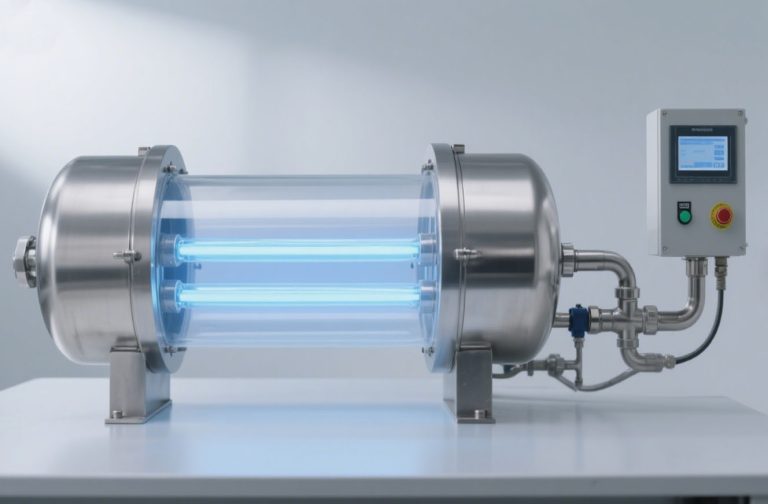
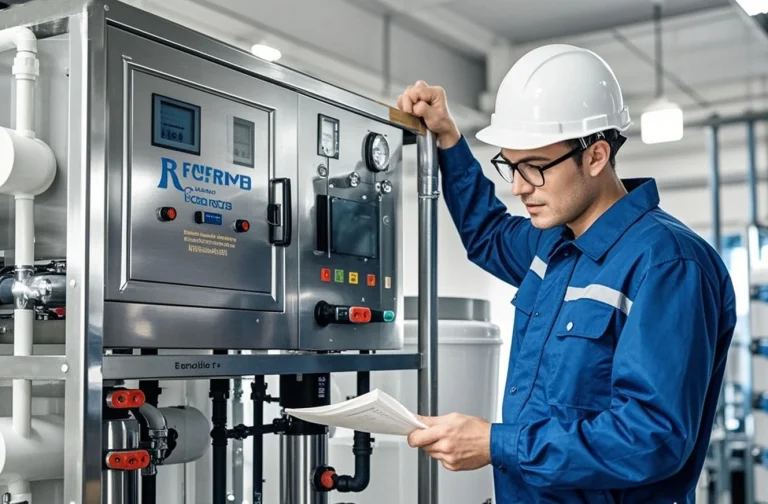
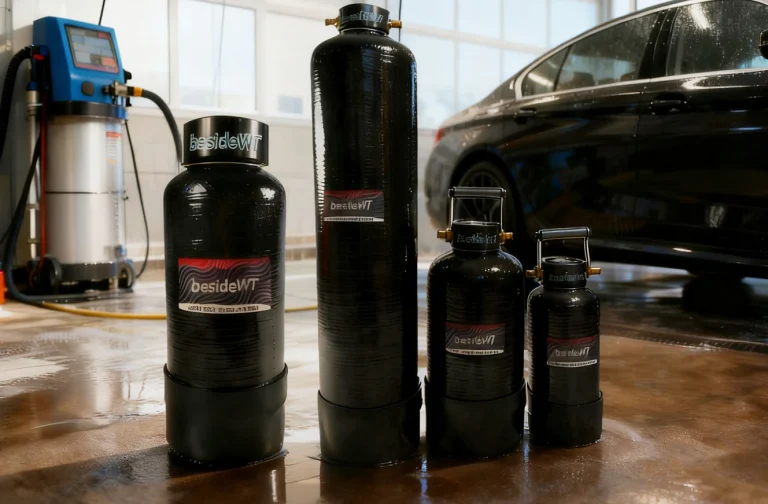
The Professional Alternative: BasideWT RO Systems
For guaranteed safety and performance, a professional system is superior. Brands like BasideWT offer engineered solutions.
Certified Purity and Peace of Mind
Every BasideWT RO system is fully certified. You receive a detailed performance data sheet. This guarantees the removal of specific contaminants like lead, arsenic, and nitrates.
Superior Engineering and Efficiency
These systems are designed for minimal wastewater. They often include built-in pressure pumps for consistent performance. Their designs are compact and aesthetically pleasing.
Ease of Installation and Support
You get a complete, compatible kit. Comprehensive instructions are included. Reliable customer support is available for any questions.
Counter-intuitively, a professional RO system can be more cost-effective long-term. It prevents water waste, potential damage, and delivers certified results from day one.