BasideWT- Whole Home Water Filtration System & Replacement


How to Change a Water Filter Cartridge: Your Ultimate DIY Guide for Cleaner Water
Don’t Fear the Filter Change!
Is your water pressure dropping? Maybe your water tastes a bit off. These are clear signs. Your water filter cartridge needs changing. This task might seem daunting. But it is surprisingly simple. This guide will walk you through every step. We will cover all filter types. You will learn pro tips and mistake avoidance. Let’s get started. Ensure your water stays fresh and clean.
Understanding Your Water Filtration System
Knowing your system is the first crucial step. Not all filters are the same. Identifying your type makes the process smooth.
The Main Types of Filter Housings
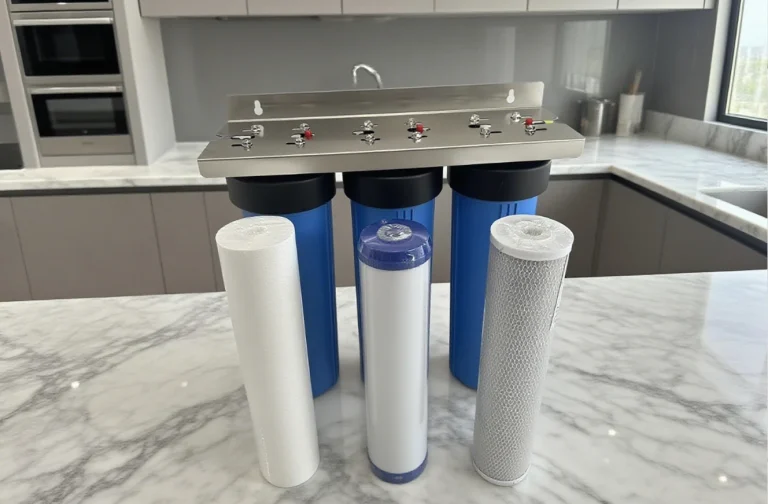
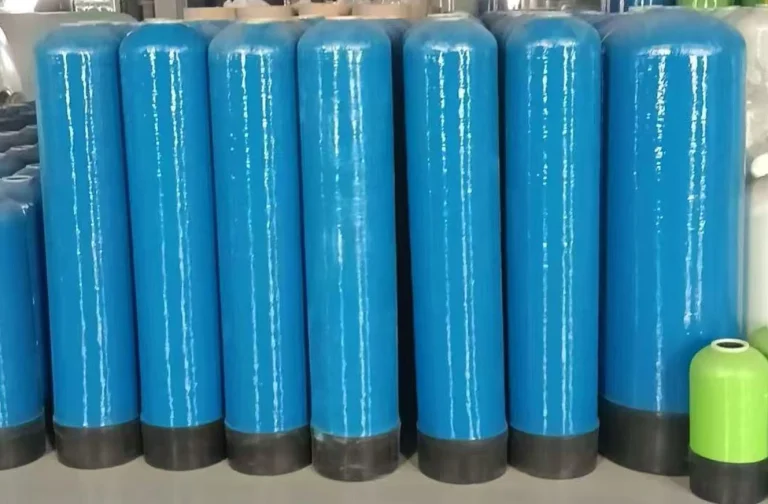
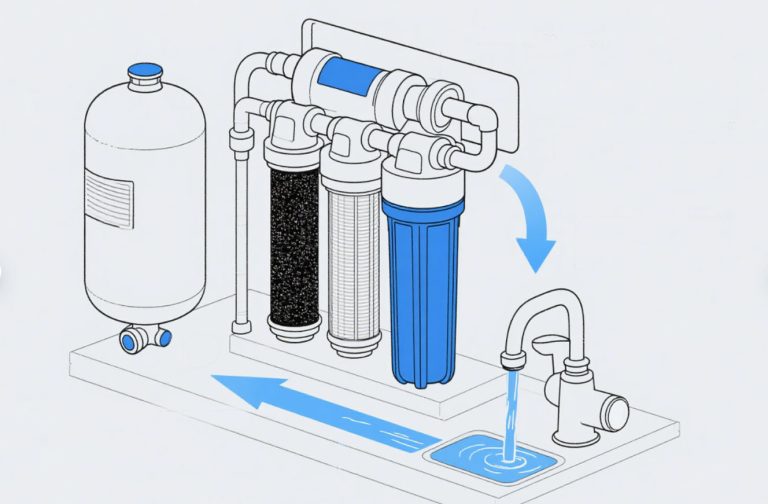
You will usually find two main designs. Under-sink systems are compact and hidden away. Whole-house filters are larger. They treat all water entering your home. Countertop models are also popular. They connect directly to your faucet. Each type has a unique housing.
Common Cartridge Variations
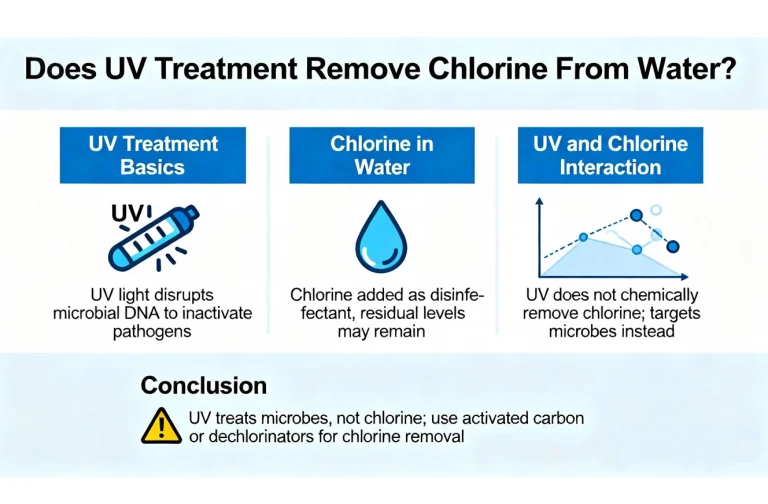
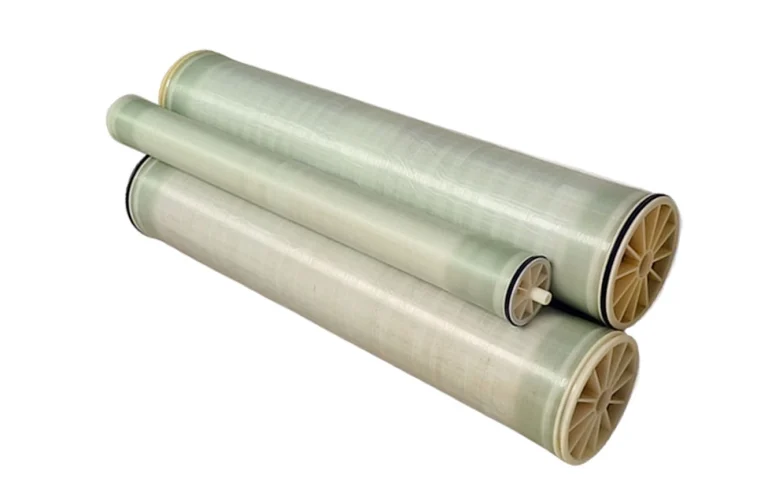
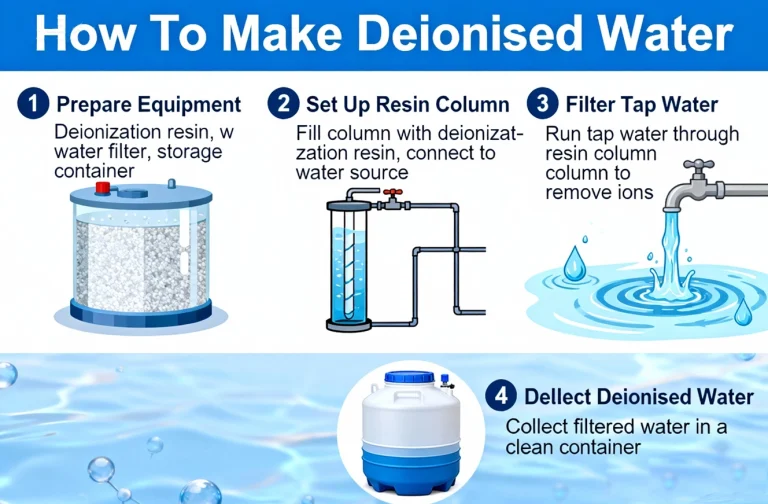
Cartridges themselves vary greatly. Sediment filters block sand and rust. Carbon filters remove chlorine and improve taste. There are also advanced options. These target specific contaminants like fluoride or heavy metals. Always know what your cartridge does.
Why Regular Changes Are Non-Negotiable
A clogged filter is useless. It can harbor bacteria. Your water pressure will significantly drop. Old filters can even release captured contaminants back into your water. Changing it is essential for health and performance.

Gathering Your Tools and Supplies
Preparation is key. Having everything ready before you start prevents mess and frustration.
The Essential Toolkit
You don’t need fancy tools. A filter wrench is the most important. It helps open tight housings. Have towels ready for spills. A bucket is crucial for catching water. Don’t forget your replacement cartridge. Always double-check the model number.
Selecting the Correct Replacement Cartridge
Never guess the model. Check the manual or the old cartridge’s label. Buying the wrong filter wastes money and time. It may also not fit correctly. This can lead to leaks or bypass.
Optional but Helpful Add-ons
Consider a silicone lubricant. A small amount on the O-ring ensures a perfect seal. A pair of gloves can keep your hands clean. Have a flashlight handy for looking into dark under-sink cabinets.
The Step-by-Step Replacement Process
Follow these steps carefully. They apply to most standard cartridge systems.
Locate and Shut Off the Water Supply
Find the shut-off valves. For under-sink filters, there’s usually a blue valve. Turn it clockwise to close. For whole-house systems, locate the bypass valve. You may need to shut off your main water supply. This is a critical safety step.
Relieve Internal Pressure
Open the faucet on your sink. This releases any remaining water pressure. Now, push the red pressure release button on the housing. If there’s no button, gently loosen the housing. You should hear a hiss of air. This prevents a water geyser.
Remove the Old Filter Housing
Place your bucket directly under the housing. Use your filter wrench on the housing cap. Turn it counterclockwise. It might be tight. Apply steady pressure. The cap will unscrew. Lift it away carefully. Water will be inside, so be ready.
Remove and Discard the Old Cartridge
Pull the old cartridge straight out. It might be heavy and discolored. Toss it directly into a trash bag. Avoid spilling the trapped debris. Wipe out the inside of the housing with a clean towel. Remove any grime or sediment.
Install the Brand New Cartridge
Unwrap the new cartridge. Check its O-rings if it has them. Insert it into the clean housing. Ensure it seats properly at the bottom. It should sit straight and feel secure. Do not force it.
Reassemble and Tighten the Housing
Carefully place the housing cap back on. Align the threads correctly. Hand-tighten the cap clockwise. Then, use the wrench for a final quarter-turn. Do not overtighten. This can crack the plastic or damage the O-ring.
Priming and Checking for Leaks
You are almost done. The final steps ensure a perfect, leak-free operation.
Restoring Water Flow Slowly
Turn the water supply back on slowly. Let the filter housing fill up. Open the faucet on your sink. Let the water run for several minutes. This purges air from the system. You will see spluttering at first. This is normal. Let it run until the stream is steady.
The Critical Leak Inspection
While the water runs, inspect the housing closely. Look for any drips or seepage around the seal. Touch the connection points with a dry paper towel. A damp spot indicates a small leak. If you find a leak, turn the water off and tighten the cap slightly.
Final Quality Check
Taste your water. It should taste clean and fresh. Check the water pressure. It should be strong and consistent. Congratulations! You have successfully changed your water filter.
Troubleshooting Common Problems
Sometimes, things don’t go perfectly. Here’s how to fix common issues.
The Housing Cap Won’t Budge
A stuck housing is a common headache. Try tapping the wrench gently with a rubber mallet. The shock can break the seal. Applying a hot towel to the plastic cap can help. It expands the plastic slightly. Never use excessive force.
Persistent Leaking After Reassembly
A leak usually means a problem with the seal. Turn the water off. Open the cap and inspect the O-ring. Is it nicked, twisted, or missing? Clean the O-ring groove. Lubricate the O-ring with food-grade silicone grease. Reassemble and try again.
Low Water Pressure After Installation
First, ensure you removed all cartridge packaging. Then, let the water run longer. It takes time to fully prime some filters. If pressure is still low, you might have a clog elsewhere. The cartridge could also be defective.
Pro Tips for Long-Term Filter Health
Maintain your system like a pro. These habits extend its life and improve your water quality.
Setting a Smart Change Schedule
Don’t just guess when to change. Mark the date on your calendar. Note the installation date on the new cartridge with a marker. Follow the manufacturer’s guideline. Consider your water usage and contamination level.
Keeping a Spare Cartridge Handy
Always have a spare filter at home. You will be ready when change time arrives. You avoid periods without filtered water. It also lets you shop for deals without pressure.
Seasonal System Flushing
If you have a whole-house system, flush it occasionally. Simply bypass the filter and run water through the pipes. This clears out any sediment buildup in your plumbing. It keeps everything flowing smoothly.
Going the Extra Mile: Advanced Considerations
Understand more to make the best choices for your home’s water.
Understanding Water Quality Reports
Get your annual water quality report from your municipality. It lists contaminants in your local supply. This knowledge helps you choose the right filter type. You can target your specific water issues effectively.
The Environmental Impact of Cartridges
Some cartridges are recyclable. Check with the manufacturer or local recycling programs. Consider reusable filter options if available for your system. They generate less waste over time.
When to Call a Professional Plumber
Most changes are DIY-friendly. But call a pro if you have a major leak you can’t fix. Also call if you suspect a problem with your plumbing itself. It’s better to be safe than sorry.