BasideWT- Whole Home Water Filtration System & Replacement


Whole House 6 Stage Ro System for Well Water | BasideWT


PRODUCT PARAMETERS
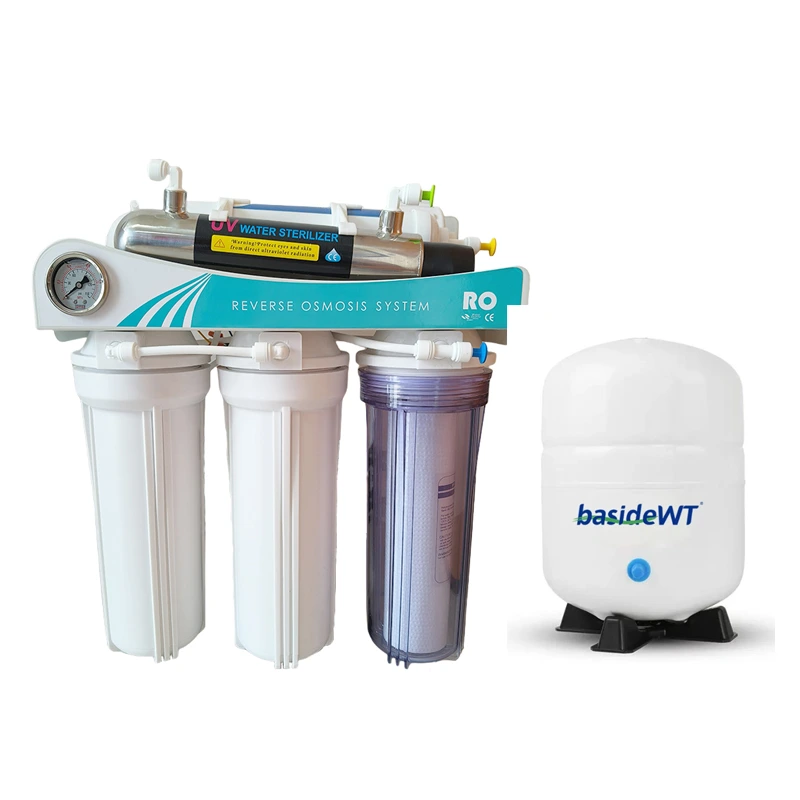
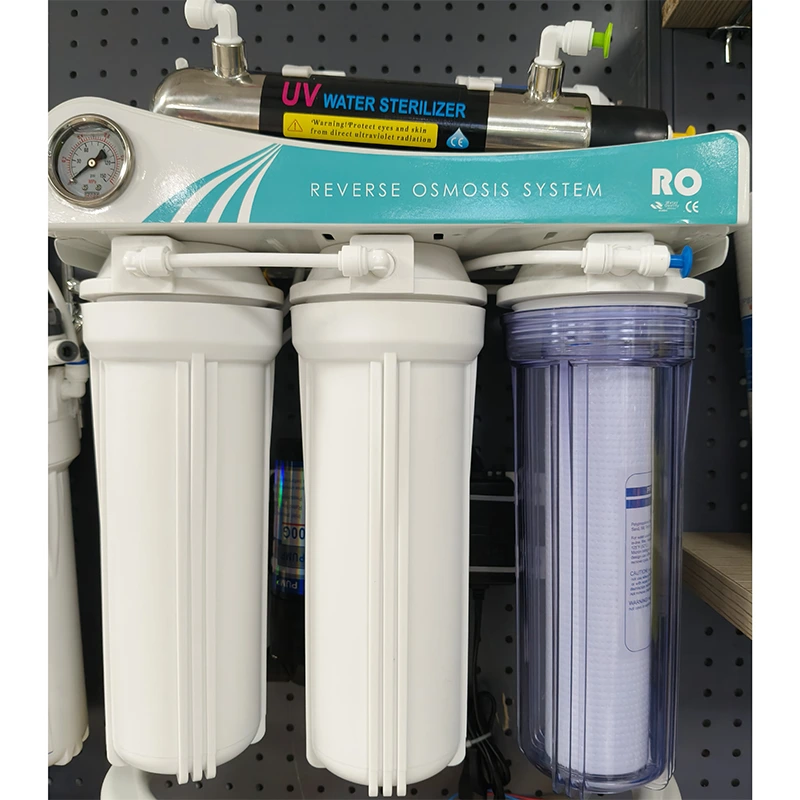
Looking for the most effective way to transform your water? A 6 Stage RO System is a premier choice. Reverse Osmosis (RO) stands as one of the most convenient and economical methods for reducing unwanted contaminants. This process forces water molecules through a semi-permeable membrane using pressure. Impurities are rinsed away, while purified water flows to a holding tank. Therefore, implementing a multi-stage reverse osmosis water systems ensures superior filtration for safer, better-tasting water in any home.
How a 6-Stage RO System Works
A five-stage reverse osmosis system, like those from leading brands, doesn’t rely on a single filter. Instead, it uses a precise sequence to protect its core and refine your water. Specifically, water first enters a sediment pre-filter to remove dirt and rust. Next, it passes through carbon blocks to eliminate chlorine and odors. This dual pre-filtration is crucial, as it shields the sensitive RO membrane from damage. This makes it ideal for modern undersink ro systems requiring stable and consistent filtration performance.
How Your Reverse Osmosis (R.O.) System Delivers Pure Water
Your new Reverse Osmosis drinking water system combines multiple filtration technologies to effectively reduce unwanted contaminants. The following stages work together to provide you with exceptionally clear, great-tasting water:
1. Mechanical Filtration & Activated Carbon Prefilter
The sediment prefilter is designed to reduce larger particles like silt, rust, and scale. Its 5-micron rating (equivalent to 0.0002 inches) helps extend the service life of the R.O. Membrane. The integrated activated carbon reduces chlorine that may be present in the feed water—a necessary pretreatment step for membrane protection.
2. The Reverse Osmosis Membrane – The Heart of the System
The R.O. Membrane is the core filtration component, designed to reduce the dissolved mineral content in water, measured as Total Dissolved Solids (TDS). During the Reverse Osmosis process, dissolved minerals are separated from the feed water to produce purified permeate water, while concentrated minerals are rinsed away as reject water.
This membrane is constructed from a fully aromatic polyamide film, classified as a Thin Film Composite (TFC). Its spiral-wound design provides maximum surface area for water production and resists fouling from particulates, turbidity, and colloidal materials.
3. Activated Carbon Post Filter
The Activated Carbon Post Filter contains porous carbon particles with an extensive internal surface area—typically 800–1,200 square meters per gram. This vast pore structure provides effective adsorption sites for substances that contribute to undesirable tastes and odors.
4. In-Line Activated Carbon Post Filter
Positioned after the storage tank, the In-Line Activated Carbon Post Filter provides a final polishing stage. It further reduces any residual tastes or odors that may pass through the system, ensuring water is crisp and refreshing right at your tap.
5. Automatic Shut-Off Valve (ASO)
The ASO Valve senses when the storage tank is full and automatically shuts off the feed water supply. This prevents unnecessary wastewater discharge when the system is not in production, improving efficiency and conserving water.
The Heart of Purification: The RO Membrane
After pre-filtration, water reaches the system’s operational heart: the Thin Film Composite (TFC) RO membrane. This is where the core reverse osmosis process occurs. The TFC membrane rejects a very high percentage of dissolved solids and contaminants. Interestingly, while the membrane is highly effective, the multi-stage design of a comprehensive 5-stage RO water filter ensures it lasts longer and performs optimally, providing consistent, high-quality water.
Why Choose a Multi-Stage RO Design?
You might wonder, why are five stages necessary? The structured approach offers unmatched flexibility and protection. For instance, after the membrane, water is stored in a tank. When you use your faucet, water undergoes a final “polishing” stage through an activated carbon filter. This removes any lingering tastes, guaranteeing that crisp, clean finish. However, it’s important to note that not all systems are equal; a true 6 Stage RO System provides this complete, layered defense.
Taste the Difference in Your Daily Life
The advantages of a robust 6-stage RO system extend far beyond the tap. Imagine: sparkling-clear drinking water, more flavorful coffee and tea, and fresher rinsed fruits and vegetables. Even your soups and sauces can taste better when prepared with pure RO water. What about cost and convenience? This system is remarkably cost-effective, eliminating daily bottled water expenses. Conveniently, fresh, clean water is always ready on demand. Users can enjoy purified water directly from a dedicated water filter faucet no need the ron while maintaining consistent flow.
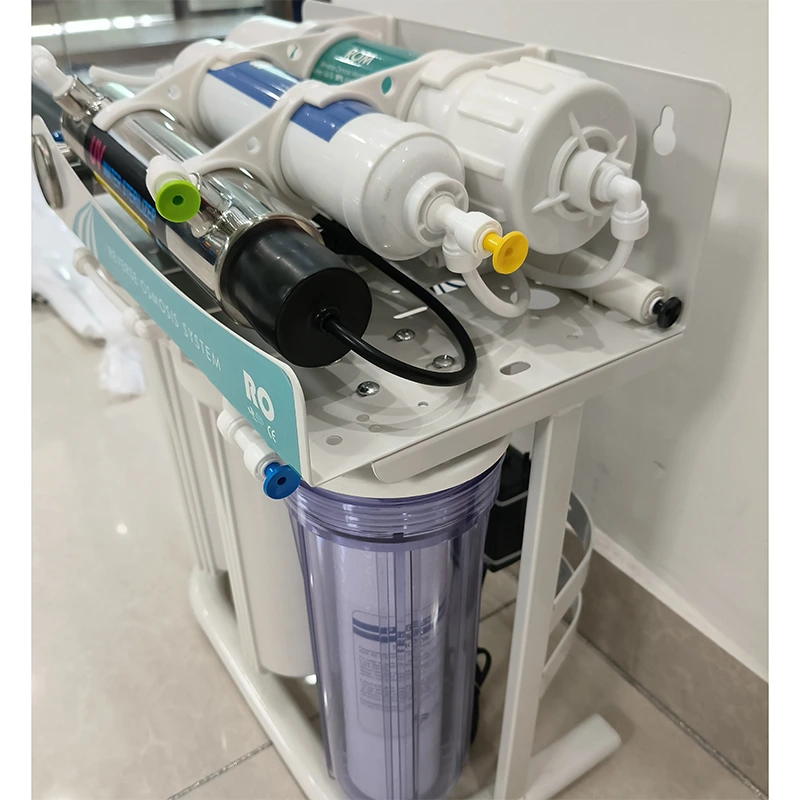
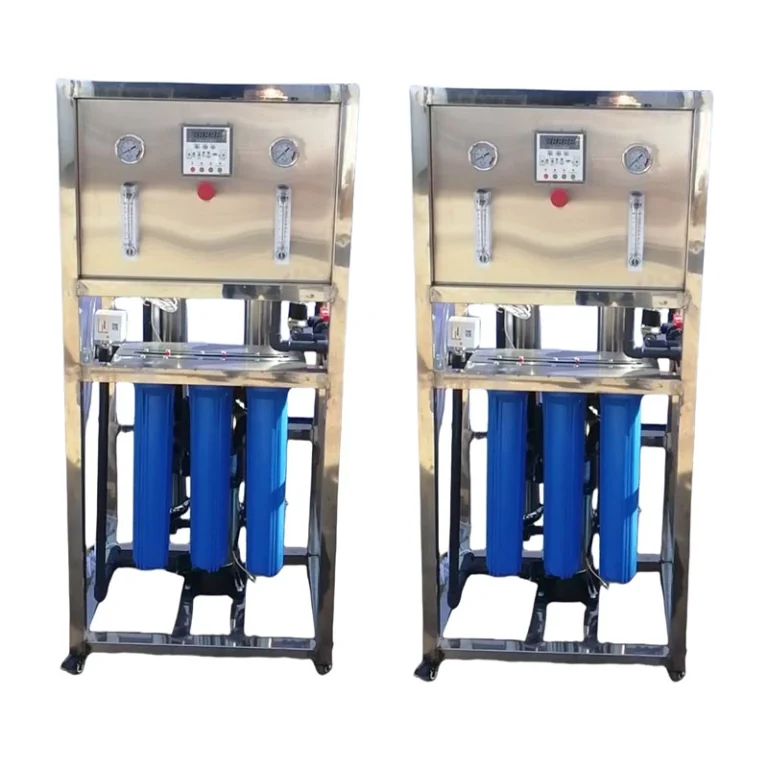
6 Stage RO System for Under Sink and Reverse Osmosis Water Systems
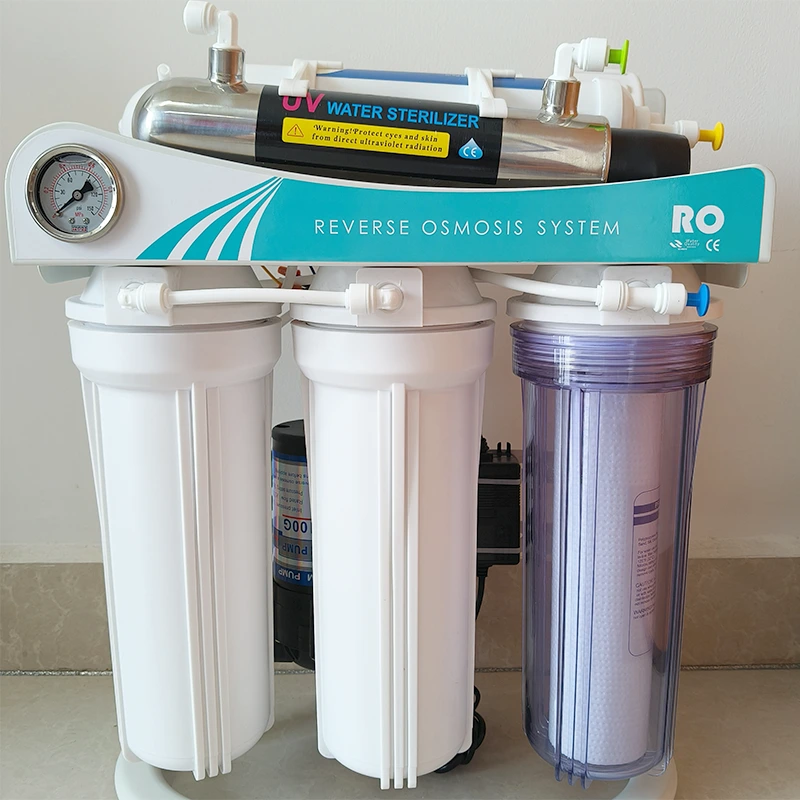
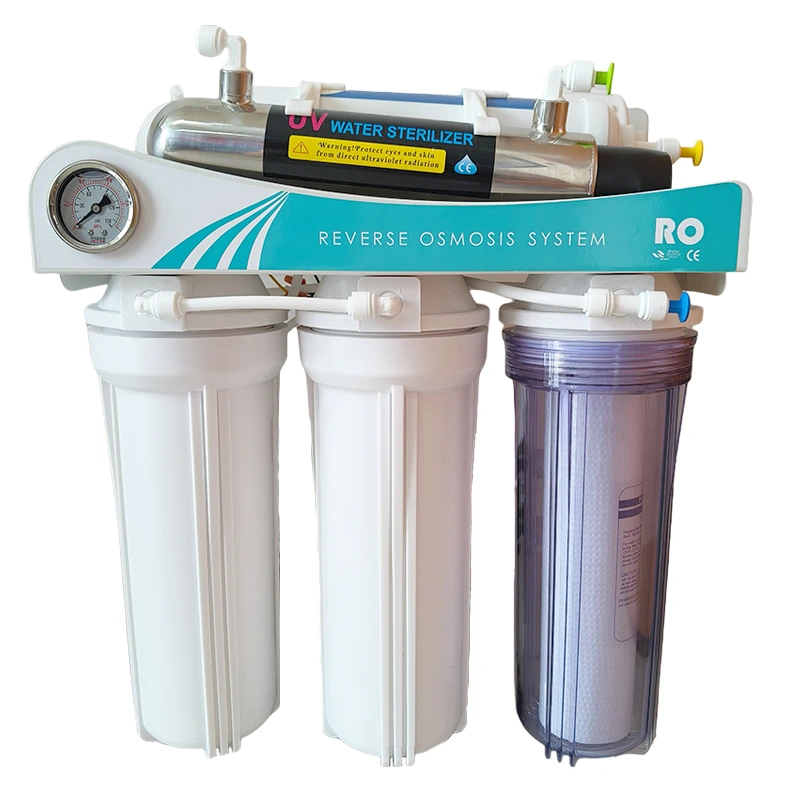
The 6 Stage RO System is widely used in reverse osmosis water systems for residential and commercial applications. This under sink ro system provides multi-stage filtration to remove sediment, chlorine, odor, and dissolved solids. These undersink ro systems deliver clean drinking water directly through a water filter faucet no need the ron, making installation simple and efficient. The compact design improves performance while maintaining stable pressure and long membrane life.
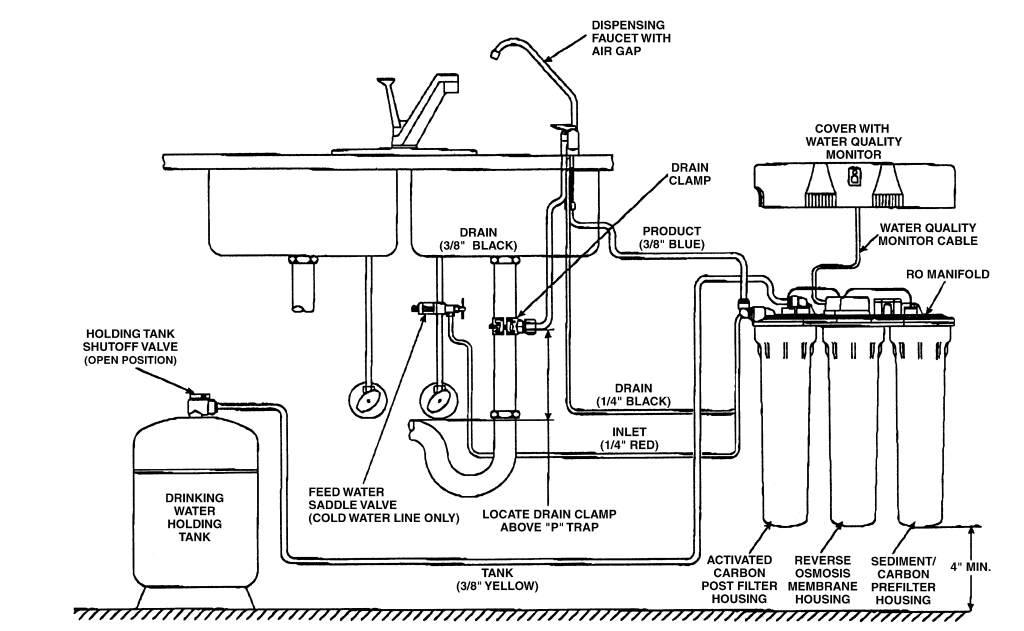
Reverse Osmosis Under Sink Installation Diagram
SPECIFICATIONS
| Feed Water Pressure | 40 to 80 psi |
| Temperature Range | 40-100°F |
| Max. TDS (Total Dissolved Solids) | 2000 ppm |
| Maximum Hardness | 10 gpg (171 mg/l) |
| Sulfide, Iron and Manganese | 0 ppm <0.1 ppm |
| Chlorine in Water Supply | Less than 2 ppm |
| pH Limits | 3-9 |
| Turbidity | 11 NTU Average |
BASIC INSTALLATION PROCEDURE GUIDELINES
Installing the Water Supply Adapter
Directions:
- Shut Off Water Supply: Locate and turn off the cold water angle stop valve under the sink. If no dedicated shut-off valve exists on this line, you must install one before proceeding.
- Relieve Pressure: Open the existing cold water faucet at the sink to drain the line and relieve all water pressure. Leave it open for now.
- Disconnect Supply Line: Disconnect the existing flexible cold water supply line (typically running from the angle stop valve to the faucet).
- Install Adapter Assembly: install the provided components onto the angle stop valve’s outlet port in this order:
- The brass swivel adapter.
- The brass compression nut, insert, and ferrule (compression sleeve).
- The plastic shut-off ball valve.
- Reconnect Supply Line: Reconnect the existing faucet supply line to the outlet port of the newly installed plastic shut-off ball valve. Tighten all connections securely.
- Check for Leaks: Slowly turn the main cold water angle stop valve back on. Then, open the new plastic shut-off ball valve. Inspect all new connections for leaks. Once confirmed leak-free, turn off the plastic shut-off ball valve. You can now close the sink’s cold water faucet.
FAQs
How do I know which system is right for my home?
How to Measure Your Home’s Water Flow Rate?
How do I troubleshoot low water pressure from my system?

What contaminants does your water treatment system remove?
What’s the difference between UV, RO, and activated carbon filtration?
REQUEST A QUOTE
RELATED PRODUCTS
Mini Ro Water System 500lph Industrial Reverse Osmosis Water Filter System

250L/Hr Marine Water Maker for Boats | Portable Reverse Osmosis Seawater Desalinator System
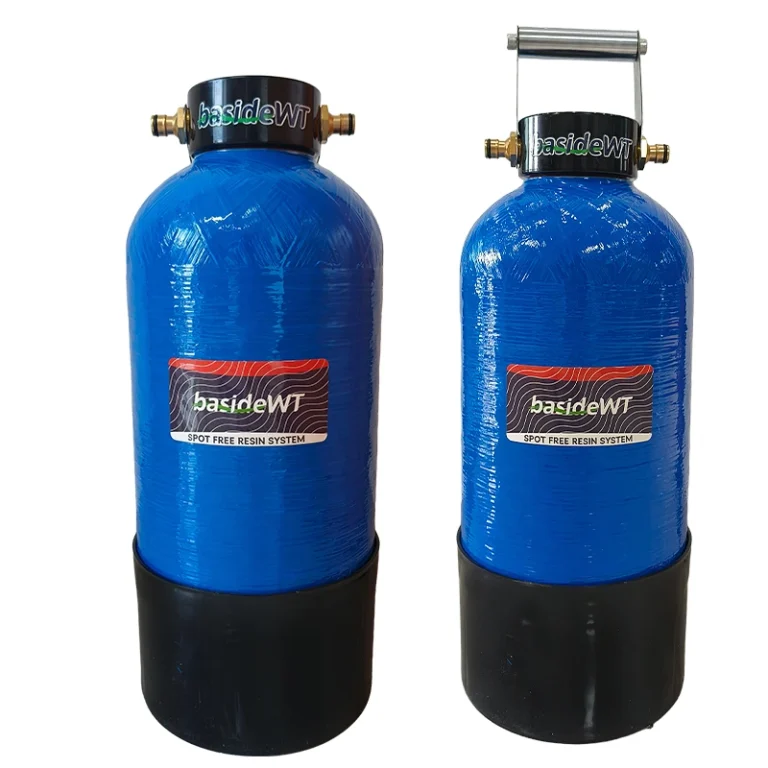
Custom Deionized Water Cleaning System with Blue Filter Tank for car Wash and window cleaning
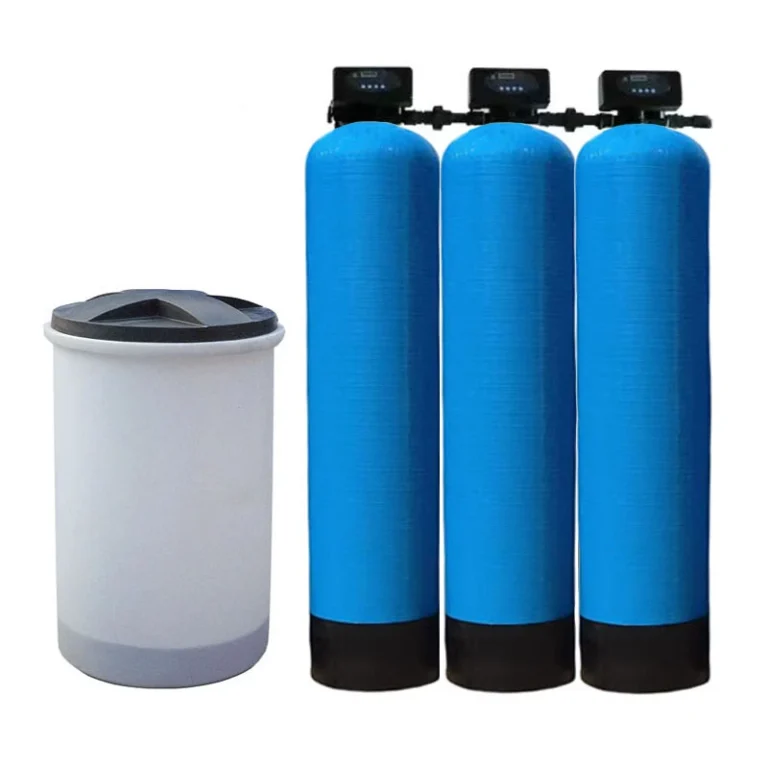
Whole House Triple Purpose Pre-Filter Ion Exchange Automatic Water Softener System for Hard Water
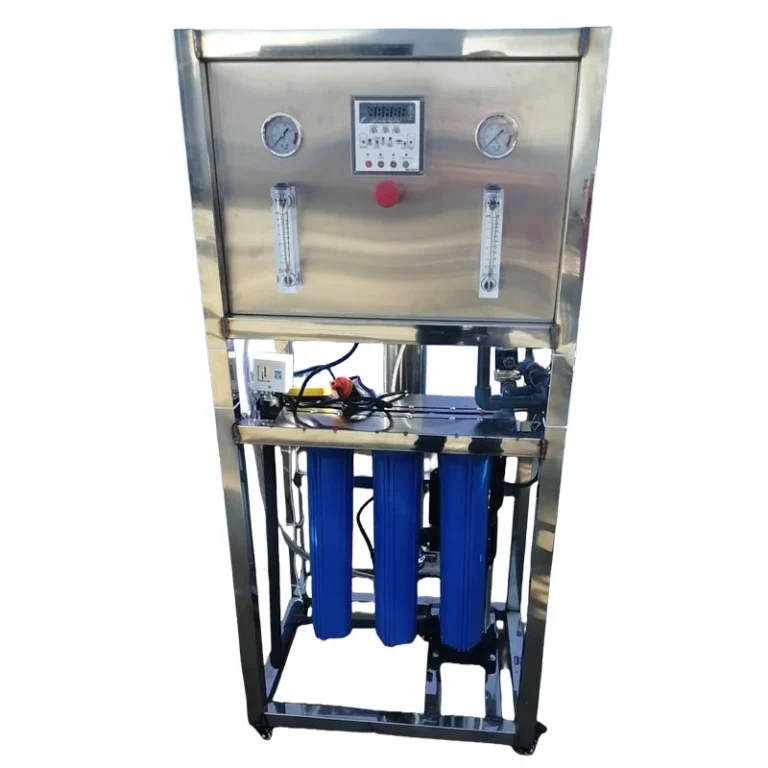
Mini Commercial RO System 250L/H | Chinese Manufacturer BasideWT
