BasideWT- Whole Home Water Filtration System & Replacement


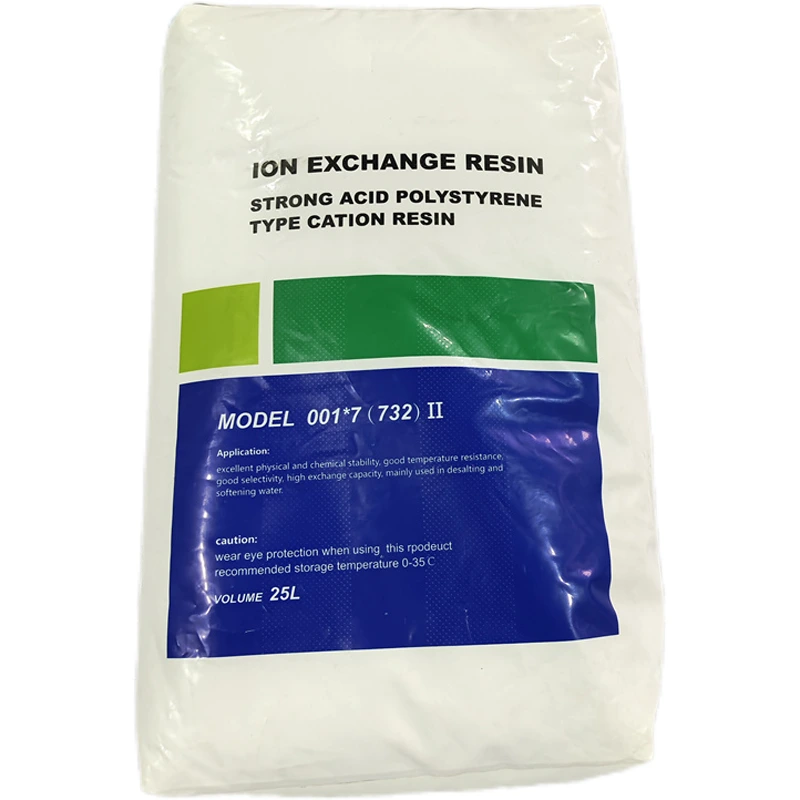
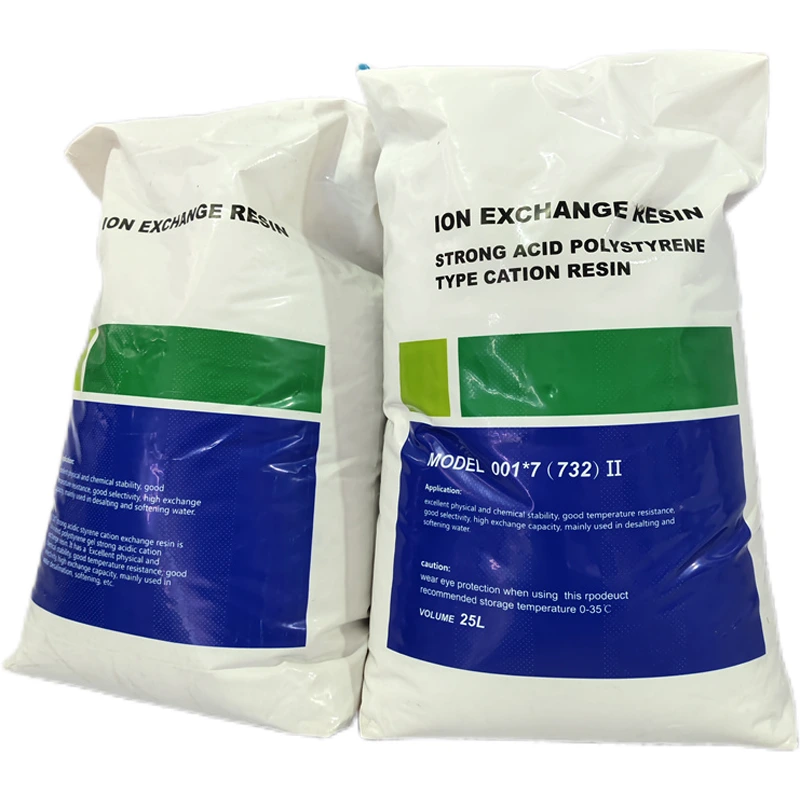
Mixed Bed Ion Exchange Water Softener Resin for Water Treatment 001×7 Strongly Acidic Cation Mixed Bed Exchange Resin


PRODUCT PARAMETERS
Introduction to Water Softener Resin
Hard water causes scaling, reduces soap efficiency, and damages appliances. Water softener resin solves this by exchanging calcium/magnesium ions for sodium or hydrogen ions. Among various types, 001×7 strongly acidic cation mixed bed exchange resin stands out for high efficiency.
007 Ion Exchange Resin – Premium Strong Acid Cation Exchange Resin
1. Product Overview
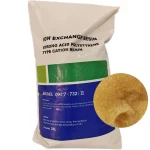
The 007 ion exchange resin is a gel-type strong acid cation exchanger with superior stability, widely used in water treatment and industrial purification processes. Its sulfonated polystyrene-DVB matrix ensures high efficiency in ion removal applications.
2. Technical Specifications
| Property | Description |
|---|---|
| Type | Strong acid cation exchange resin |
| Matrix | Styrene-divinylbenzene (DVB) copolymer |
| Functional Group | Sulfonic acid (-SO₃H) |
| Forms Available | Sodium (Na⁺) form for softening / Hydrogen (H⁺) form for demineralization |
| Appearance | Uniform amber-colored spherical beads (0.3-1.2 mm diameter) |
3. Key Features & Benefits
✔ High Exchange Capacity – Efficient removal of Ca²⁺, Mg²⁺, and other cations,Fast Kinetics – Rapid ion exchange rates for continuous processes,Thermal/Chemical Stability – Withstands temperatures up to 120°C and pH 0-14,Food-Grade Options – Compliant with FDA/EC standards for beverage production
4. Primary Applications
- Water Softening – Replaces hardness ions (Ca²⁺/Mg²⁺) with Na⁺
- Demineralization – Produces high-purity water by removing all dissolved ions
- Industrial Processes – Sugar refining, pharmaceutical purification, metal recovery (e.g., nickel, cobalt)
5. Performance Data
- Operating Capacity: 1.8-2.2 eq/L (Na⁺ form)
- Max Operating Temp: 120°C (248°F)
- pH Range: 0-14
Note: For optimal performance, regenerate with 10% NaCl solution (softening) or HCl/NaOH (demineralization).
Step-by-Step Guide: Using 001×7 Resin Effectively
1. Pre-Treatment Inspection
Check water hardness (test strips help). If >250 ppm, water softener resin is essential.
2. Loading the Resin Tank
Fill ⅔ of the tank with 001×7 resin to allow proper flow.
3. Backwashing (First Use)
Run water backward for 10 mins to remove fines.
4. Regeneration Cycle
- Use NaCl (for softening) or HCl/NaOH (for mixed beds).
- Rinse thoroughly post-regeneration.
5. Performance Testing
Verify output hardness (<17 ppm = success).
Pro Tip: Our 2025 case study showed 30% longer resin life with monthly backwashing.
Common Mistakes & How to Avoid Them
Water Softener Resin Replacement: When and How to Replace Resin Beads
Water softener resin replacement is needed every 10–15 years on average. However, some conditions speed up degradation. Chlorinated water damages resin beads faster. Iron-heavy water causes fouling over time. High water usage accelerates exhaustion. Therefore, test your output water every 6 months. If hardness rises above 17 ppm after regeneration, replacement is likely needed.
Water softener resin beads in water are a sign of a problem. Whole beads should stay inside the resin tank. If you see amber beads at your tap, the resin bed is breaking down. This happens when beads crack from chlorine exposure or physical stress. It also happens when the distributor screen is damaged. Therefore, inspect the tank and screen immediately if this occurs.
Replacing water softener resin beads is a straightforward process. First, bypass the softener and drain the tank completely. Then remove the old resin by flushing or vacuuming. Rinse the tank thoroughly before adding new resin. Fill the tank two-thirds full with fresh resin for water softener use. Run a full backwash and regeneration cycle before returning the system to service. Moreover, always install a carbon pre-filter before the softener. This removes chlorine that shortens resin life significantly. For full system control, pair your resin tank with a quality water softener control valve. It manages regeneration timing automatically. Furthermore, a water distributor inside the tank ensures even water flow through the resin bed. Uneven flow causes channeling and reduces softening efficiency.
❌ Using chlorinated water → Resin oxidation.
✅ Solution: Install a carbon pre-filter.
❌ Overloading the resin bed → Reduced efficiency.
✅ Solution: Follow manufacturer’s capacity guidelines.
❌ Skipping regeneration → Resin exhaustion.
✅ Solution: Set automatic regeneration cycles.
Water Softener Media Resin: Pairing Resin with the Right Softener System
The water softener media resin works best inside a well-matched softener system. The resin alone cannot perform without proper housing, valve timing, and salt supply. All components must work together. An undersized resin bed exhausts too quickly. An oversized bed wastes salt during regeneration. Therefore, always calculate your household’s daily water usage and hardness level before sizing a resin bed.
For home use, a single-tank softener with 1–2 cubic feet of water softener resin suits most families. A family of four with moderate hardness needs about 1.5 cubic feet. Higher hardness levels require more resin capacity. Furthermore, demand-based regeneration controllers save salt and water. They regenerate only when the resin bed is actually exhausted. This reduces operating cost significantly over a 5–10 year period.
For larger residential or light commercial needs, a complete water softener system gives you a fully matched setup. The resin tank, brine tank, and control valve are already sized to work together. This removes the guesswork from system design. Moreover, combining a softener with a downstream water filtration system gives complete water quality protection. The softener handles hardness. The filtration system handles sediment, chlorine, and other contaminants. Together, they deliver clean and soft water at every tap in your home.
FAQs
How do I know which system is right for my home?
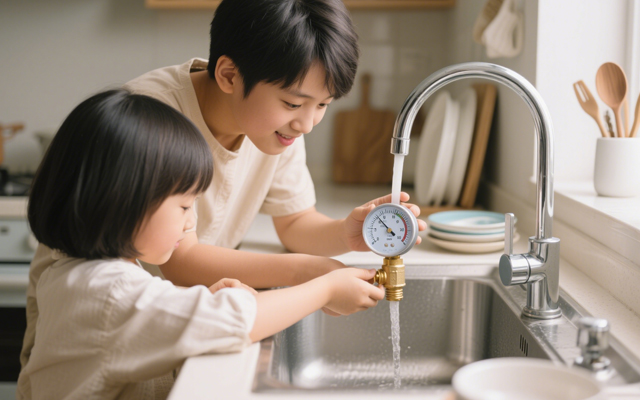
How to Measure Your Home’s Water Flow Rate?
How do I troubleshoot low water pressure from my system?
What contaminants does your water treatment system remove?
What’s the difference between UV, RO, and activated carbon filtration?