BasideWT- Whole Home Water Filtration System & Replacement


RO Membrane Replacement: When, Why & How to Replace It
RO membrane replacement is necessary when the membrane can no longer reject dissolved solids at an acceptable rate, when flow drops significantly, or when the membrane reaches the end of its typical service life. In most residential systems, that point arrives somewhere between two and five years, but the real answer depends on water quality, maintenance habits, and how the system has been used.
This guide walks through the signs that point to a failing membrane, the tests you can run before you buy anything, the main causes of premature failure, and a full step-by-step replacement process. By the end, you will know whether replacement is actually the right move or whether the real problem lies elsewhere in the RO system.
What RO Membrane Replacement Actually Means
Replacing an RO membrane means removing the old semi-permeable membrane element from its housing and installing a new one that matches the original size, GPD rating, and configuration. It does not mean replacing the entire reverse osmosis system, and it does not automatically mean replacing the sediment or carbon filters, although those should always be checked at the same time.
The membrane is the core component that performs the actual separation. According to an overview of drinking water treatment technologies published by the U.S. EPA, reverse osmosis works by forcing water at high pressure through a semi-permeable membrane that blocks a wide range of inorganic contaminants, dissolved solids, and other undesirable substances based on molecular weight. Once that barrier degrades, the whole system’s output quality drops with it, even if every other filter is brand new.
If you are unfamiliar with how this component works before diving into replacement, the guide on how an RO membrane works explains the filtration process in more detail.
When Does an RO Membrane Need Replacement?
An RO membrane needs replacement when one or more of these conditions are confirmed:
- Permeate (treated water) TDS rises well above the system’s normal baseline
- Rejection rate drops noticeably below the membrane’s rated performance
- Water production slows even after pressure and pretreatment filters are ruled out
- The membrane has reached or passed its expected lifespan for your water conditions
- Physical inspection shows scaling, biofouling, or a torn membrane sheet
None of these signs alone always means “replace immediately.” Each one needs a quick check first, because filters, pressure, and feed water conditions can all mimic membrane failure. The next sections explain how to tell the difference.
Signs of a Worn or Failing RO Membrane
Rising TDS in the Treated Water
A steady increase in permeate TDS is the clearest indicator of membrane wear. When a membrane is new, it typically rejects 95–99% of total dissolved solids, depending on the model and feed water. As the membrane surface degrades or develops microscopic imperfections, more dissolved solids pass through, and permeate TDS climbs.
However, high TDS does not always mean the membrane has failed. It can also point to a bypass valve stuck open, a damaged O-ring, or an improperly seated membrane. Testing both feed water and permeate TDS, covered below, is the only reliable way to isolate the cause.
Reduced Water Flow
Slower fill times or reduced output at the faucet often get blamed on the membrane first, but low flow has several possible causes. Clogged sediment or carbon pre-filters, low feed pressure, a failing booster pump, or a blocked flow restrictor can all reduce production without the membrane being at fault.
If you have already checked pressure and confirmed it falls within the normal operating range described in the RO membrane pressure requirements guide, and flow is still poor, membrane fouling becomes the more likely explanation.
Unusual Taste, Odor, or Cloudiness
A membrane that has developed channeling, biological growth, or a physical breach can allow taste- and odor-causing compounds through that it previously blocked. This is less common than TDS or flow issues but should not be ignored, especially in systems on well water or heavily chlorinated municipal supplies.
Age-Based Wear
Even a membrane with no obvious symptoms can be operating below its rated efficiency simply due to age. For a full breakdown of typical service life by water condition and usage pattern, see how long an RO membrane lasts.
How to Test an RO Membrane Before Replacing It
Testing takes ten minutes and prevents unnecessary purchases. Follow these steps before ordering a replacement.
- Measure feed water TDS. Test the water entering the RO system, before any filtration.
- Measure permeate TDS. Test the treated water coming from the RO faucet or storage tank.
- Calculate the rejection rate. Subtract permeate TDS from feed TDS, divide by feed TDS, and multiply by 100.
- Compare against the membrane’s rated rejection rate. Most residential membranes are rated between 95% and 99%.
- Check system pressure at the membrane inlet. Low pressure alone can lower both flow and rejection performance.
- Inspect pre-filters. A clogged sediment or carbon filter can starve the membrane of flow and pressure, producing symptoms that look like membrane failure.
If rejection rate falls significantly below the membrane’s rating after pressure and filters are confirmed normal, replacement is justified. For a deeper explanation of how to interpret this calculation and what factors influence it, the RO membrane rejection rate guide covers the topic in full.
TDS Comparison Table
| Feed Water TDS | Permeate TDS | Approximate Rejection Rate | Likely Condition |
|---|---|---|---|
| 300 ppm | 5–10 ppm | 97–98% | Healthy membrane |
| 300 ppm | 20–30 ppm | 90–93% | Early wear, monitor closely |
| 300 ppm | 40+ ppm | Below 87% | Likely replacement needed |
| 300 ppm | 100+ ppm | Below 67% | Membrane failure or bypass leak |
These numbers are general reference points, not manufacturer specifications. Always confirm the exact rated rejection rate on your membrane’s data sheet before making a final decision.
Why RO Membranes Fail: Main Causes
Understanding the cause of failure matters because it affects both the replacement decision and how to prevent it happening again.
Fouling and Scaling
Fouling occurs when organic matter, colloids, or biological growth build up on the membrane surface, blocking flow and reducing rejection. Scaling happens when dissolved minerals, particularly calcium and magnesium, precipitate onto the membrane in hard water conditions. Both reduce effective membrane area and permanently damage performance if left unaddressed.
Chlorine and Oxidative Damage
Standard thin-film composite (TFC) membranes are not chlorine-tolerant. Even low levels of residual chlorine reaching the membrane can oxidize the polyamide layer, causing irreversible damage and a sudden drop in rejection rate. A failing or missing carbon pre-filter is one of the most common reasons for premature chlorine damage.
Poor Pretreatment
Sediment, iron, and other particulates that bypass the pre-filtration stage settle on the membrane surface and accelerate fouling. Weak pretreatment is one of the fastest ways to shorten membrane life, regardless of the membrane’s quality or rating.
Pressure and Temperature Extremes
Operating below the recommended pressure reduces flow and rejection, while extended operation above rated pressure can physically stress the membrane. Temperature also matters: colder feed water reduces permeate flow, and unusually warm water can accelerate membrane aging. Both factors are explained in more detail in the pressure and temperature guide.
Simple Age
Even with excellent pretreatment and stable operating conditions, membranes lose a small amount of performance every year as the polymer structure gradually degrades. This is normal and expected, and it is the reason scheduled replacement is common practice even without obvious symptoms.
Replace vs. Troubleshoot: Decision Table
| Symptom | Check First | If Confirmed Normal, Then |
|---|---|---|
| High permeate TDS | Feed TDS, O-rings, bypass valve | Membrane likely needs replacement |
| Low flow rate | Pre-filters, pressure, flow restrictor | Membrane fouling likely |
| Odd taste or smell | Carbon filter age, storage tank cleanliness | Membrane may need replacement |
| Rejection rate below rating | Pressure, temperature, feed TDS | Membrane needs replacement |
| System 3+ years old, no symptoms | Nothing urgent | Consider scheduled replacement |
Choosing the Correct Replacement Membrane
Buying the wrong membrane is one of the most common and avoidable mistakes in RO maintenance. Confirm these three details before ordering.
Match the GPD Rating
GPD (gallons per day) describes how much water the membrane can produce under standard test conditions. Installing a membrane with a different GPD rating than the original can affect the balance between the membrane and other components, particularly the flow restrictor. If you are unsure what your current rating means or whether a higher GPD would suit your household, the RO membrane GPD guide explains how to read and select the correct value.
Match the Membrane Size
Membrane housings are built to fit specific standard sizes, such as 1812, 2012, 2812, 3012, and 3013. Installing an incorrectly sized membrane will not fit the housing correctly, and it can lead to leaks or bypass around the membrane rather than through it. Measure your current membrane or check the housing markings, and consult the RO membrane size guide to confirm.
Confirm the Membrane Type
Not every membrane is interchangeable. Standard TFC membranes, tap water membranes, and specialty membranes are built for different feed water conditions and applications. Review the types of RO membranes guide if you are not certain which type your system requires before purchasing a replacement.
Compatibility Checklist
Before finalizing a purchase, confirm the following:
- Housing size matches (1812, 2012, 2812, 3012, or 3013)
- GPD rating matches the original or intended output
- Membrane type suits your feed water source (municipal vs. well)
- O-ring size and material are compatible with the housing
- The system’s maximum operating pressure matches the membrane’s rating
BasideWT offers a range of replacement RO membranes built to standard housing sizes and GPD ratings, which makes cross-checking compatibility straightforward.
Residential vs. Commercial Replacement Considerations
| Factor | Residential Systems | Commercial Systems |
|---|---|---|
| Typical membrane size | 1812, 2012 | 2812, 3012, 3013 |
| Replacement frequency | Every 2–5 years | Often annually or per usage cycle |
| Feed water source | Municipal, sometimes well | Municipal, well, or pretreated process water |
| Downtime tolerance | Low urgency | Often requires minimal downtime |
| Testing frequency | At symptoms or annually | Scheduled, often monthly |
Commercial systems generally see higher water throughput and stricter output requirements, which is why replacement schedules tend to be shorter and more closely monitored than in residential settings.
Step-by-Step RO Membrane Replacement
- Turn off the water supply to the RO system and close the feed water valve.
- Depressurize the system by opening the RO faucet until water stops flowing.
- Locate the membrane housing, usually the longest cylindrical component in the system.
- Remove the housing cap by unscrewing or unclipping it, depending on your system’s design.
- Pull out the old membrane. Some models require light twisting to release it from the housing.
- Inspect the housing and O-rings for scale, debris, or wear. Clean the housing interior if needed.
- Check O-ring condition and replace them if cracked, flattened, or brittle.
- Insert the new membrane, matching the flow direction arrow if the model has one.
- Reassemble the housing cap and hand-tighten securely.
- Turn the water supply back on slowly and check for leaks around the housing.
- Flush the new membrane by running the system to drain for the manufacturer’s recommended flush period, typically 30–60 minutes, before using the water for drinking.
What to Check After Installing the New Membrane
After installation, confirm the system is functioning correctly before relying on it for drinking water.
- Check for leaks at the housing cap and both tubing connections.
- Test permeate TDS after the flush period and compare it to the expected rejection rate.
- Monitor flow rate over the following few days to confirm it matches expectations for the membrane’s GPD rating.
- Recheck pressure at the membrane inlet to confirm it falls within the normal operating range.
- Log the installation date so future service intervals can be tracked accurately.
Common Replacement Mistakes
- Skipping the flush period, which can leave a temporary preservative taste in the first batch of water.
- Reusing worn O-rings, which often causes slow leaks that go unnoticed for weeks.
- Installing the wrong GPD membrane, which throws off the balance with the flow restrictor and can shorten the new membrane’s life.
- Ignoring pre-filter condition, which sends the same fouling conditions that damaged the old membrane straight to the new one.
- Not testing before and after replacement, leaving no baseline to confirm the fix actually worked.
Preventing Premature Membrane Failure
A few consistent habits extend membrane life significantly:
- Replace sediment and carbon pre-filters on schedule, not just when they look dirty.
- Confirm feed water pressure stays within the manufacturer’s recommended range.
- Address hardness with softening or scale-inhibiting pretreatment if feed water TDS or hardness is high.
- Avoid letting chlorinated water reach the membrane by keeping the carbon filter fresh.
- Test rejection rate periodically rather than waiting for a noticeable symptom.
Making the Replacement Decision
Before buying a new membrane, work through this short framework:
- Test feed and permeate TDS, and calculate the rejection rate.
- Rule out pressure, pre-filter condition, and flow restrictor issues.
- Compare the rejection rate against the membrane’s rated performance.
- Check the membrane’s age against typical lifespan for your water conditions.
- If rejection rate is significantly below rating and other causes are ruled out, proceed with replacement.
In most cases, this process takes less than 20 minutes and prevents the two most common outcomes of guessing: replacing a membrane that was not actually the problem, or ignoring a membrane that genuinely needs replacing while output quality quietly declines.
If testing shows normal rejection rate and flow but water quality still seems off, the issue is more likely in the storage tank, post-filter, or plumbing rather than the membrane itself. In that case, a broader system inspection, or professional service for persistent or unclear problems, is a more appropriate next step than membrane replacement.
Conclusion
RO membrane replacement comes down to a straightforward test: measure feed and permeate TDS, calculate rejection rate, and rule out pressure and pre-filter issues before assuming the membrane has failed. When rejection rate drops meaningfully below the rated performance, or the membrane has reached the end of its typical service life for your water conditions, replacement is the right call.
Getting the replacement right matters as much as deciding to replace it. Match the correct GPD, size, and membrane type, replace worn O-rings, and always flush the new membrane before use. Combined with routine pre-filter changes and stable feed pressure, a properly chosen and correctly installed replacement membrane will keep an RO system performing at its rated capacity for years. For a complete overview of membrane types, sizing, and buying considerations, the RO membrane buying guide ties all of these factors together in one place.
RELATED POSTS
Best Spot Free Water System for Car Wash: A Complete Buying Guide

Can You Drink Softened Water? Safety, Health Benefits & Common Myths
How Do I Determine the Flow Rate in My Home?
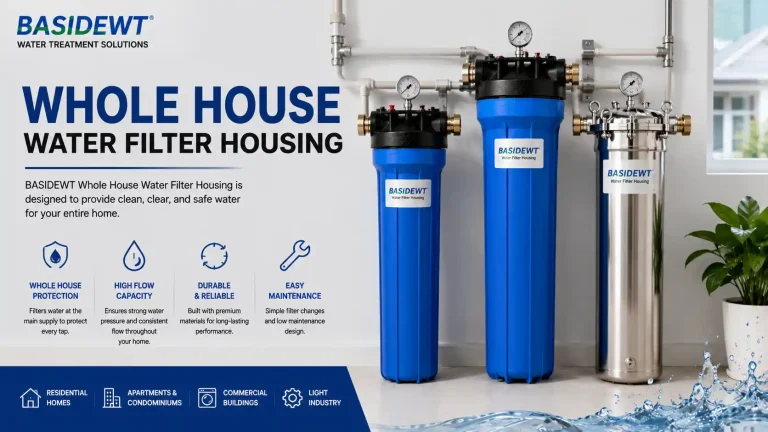
Whole House Water Filter Housing Explained: Benefits, Types & How to Choose
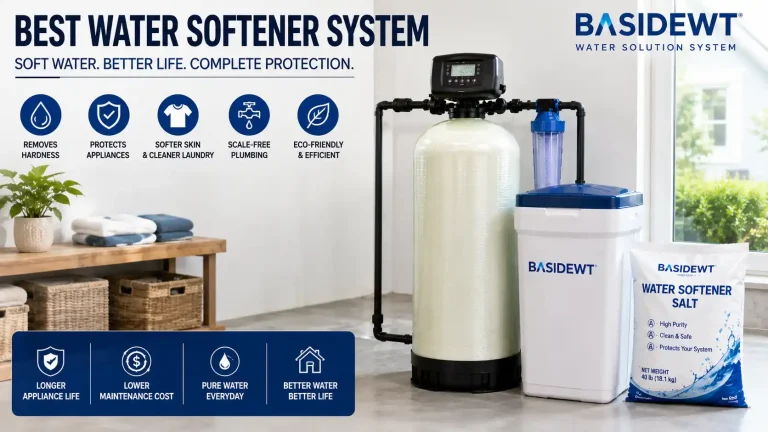
Best Water Softener System: Complete Buyer’s Guide Before You Purchase