BasideWT- Whole Home Water Filtration System & Replacement


Water Softener System Installation Guide: Step-by-Step Process
Water softener system installation determines how well your entire setup performs for years to come. A poorly installed unit can leak, waste salt, or fail to soften water properly, no matter how good the equipment is. In this guide, we walk through every stage of the process, from preparation to first regeneration, so homeowners, installers, and facility managers can get it right the first time.
Whether you are setting up a single unit in a house or coordinating a larger project for a commercial building, the fundamentals stay the same. Getting the plumbing, valves, and settings correct from day one saves time, money, and frustration later.
Water Softener System Installation: Quick Overview
At a high level, installing a water softener system involves connecting the unit to your main water line, adding a bypass valve, running a drain line, and programming the control head. The whole process typically takes two to four hours for a standard residential setup.
DIY installation works well for homeowners who already have basic plumbing experience and a straightforward single-story layout. If you are comfortable cutting pipe, using fittings, and following a wiring diagram, you can likely complete the job yourself over a weekend.
However, professional installation makes more sense when your plumbing is complex, when local codes require licensed work, or when you are installing a commercial water softener with higher flow demands. Many distributors and importers also prefer certified installers for warranty compliance. If you have not yet decided which type of system fits your needs, our water softener system types, benefits, and buying guide can help you choose before you begin.
What You Need Before Installing a Water Softener System
Before any pipe gets cut, a few preparation steps make the rest of the installation smoother.
Installation location. Choose a spot near your main water line, ideally close to where the supply enters the building. The area should stay dry, stand level, and remain accessible for future salt refills.
Water hardness testing. Test your water hardness first so the system can be programmed accurately. Without this step, the unit may regenerate too often or not enough, wasting salt and water.
Plumbing requirements. Confirm your pipe material and diameter match the softener’s inlet and outlet fittings. Most residential systems use 1-inch connections, though this varies by model.
Drain connection. You need a nearby drain, standpipe, or utility sink for the backwash cycle. Building codes often specify a minimum air gap, so check local requirements beforehand.
Electrical outlet. The control valve needs a standard power outlet within reach of its cord, usually located within six feet of the unit.
Space requirements. Leave enough room around the resin tank and brine tank for salt loading and future servicing. A cramped installation area makes maintenance far harder down the road.
If you are still learning how the internal components work together, our article on how a water softener system works explains the process in more detail.
Tools and Materials Required
Gathering the right tools before you start prevents mid-project delays. Here is what most installations require:
| Tool or Material | Purpose |
|---|---|
| Pipe cutter | Cuts copper, PEX, or CPVC cleanly |
| Pipe fittings | Connects softener to existing plumbing |
| Flexible connectors | Simplifies alignment and reduces stress on pipes |
| Shut-off valve | Isolates the water supply during installation |
| Bypass valve | Allows water to skip the softener during maintenance |
| Teflon tape | Seals threaded connections against leaks |
| Drain hose | Carries backwash water to the drain point |
| Salt | Fills the brine tank for regeneration |
Having these items on hand before you begin keeps the project moving without unnecessary trips to the hardware store.
Step-by-Step Water Softener System Installation
Once your materials are ready, follow these steps in order for a reliable water softener system installation.
1. Turn off the water supply. Locate the main shut-off valve and close it completely. Open a nearby faucet afterward to release remaining pressure in the lines.
2. Cut the plumbing. Measure carefully, then cut into the main line at your chosen installation point. Clean cuts prevent leaks and make fittings easier to attach.
3. Install the bypass valve. Attach the bypass valve assembly to the control head before connecting anything else. This valve lets you route water around the softener whenever service is needed.
4. Connect inlet and outlet. Join the inlet pipe to the valve’s designated side, then connect the outlet pipe on the opposite side. Double-check the flow direction, since reversed connections are a common error.
5. Connect the drain line. Run the drain hose from the control valve to your chosen drain point, keeping the required air gap intact. Secure the hose so it will not shift during regeneration cycles.
6. Connect the overflow line. Attach the overflow tube from the brine tank to a safe drainage point. This line prevents flooding if the fill valve ever malfunctions.
7. Fill the salt tank. Add the recommended amount of salt to the brine tank, following the manufacturer’s guidelines. Do not overfill, since this can interfere with brine formation.
8. Start the system. Slowly open the shut-off valve to let water enter the tanks, checking every connection for leaks as pressure builds. Address any drips immediately before proceeding.
9. Run the initial regeneration. Program the control head with your water hardness reading, then trigger a manual regeneration cycle. This step flushes the resin bed and prepares it for normal operation.
Following these steps carefully sets the foundation for consistent soft water throughout your home or facility.
Common Installation Mistakes to Avoid
Even experienced installers occasionally make errors that reduce performance or shorten the system’s lifespan.
Wrong installation location. Placing the unit too far from the main line increases pressure loss and complicates future servicing.
Incorrect drain connection. Skipping the required air gap can allow wastewater to siphon back into the system, creating a contamination risk.
Missing bypass valve. Without this valve, any future repair means shutting off water to the entire building.
Poor pipe sealing. Loose fittings or missing Teflon tape lead to slow leaks that often go unnoticed until damage appears.
Improper programming. Entering the wrong hardness value causes the system to either waste salt or leave water only partially softened. Accurate programming is just as important as the physical plumbing work.
Installing a Water Softener in Residential vs Commercial Applications
Residential and commercial installations share the same core principles, though the scale and complexity differ considerably.
A typical residential water softener handles moderate flow rates and serves a single household. Installation usually fits within a basement, garage, or utility closet, with straightforward single-line plumbing.
Commercial water softener installations, by contrast, often involve higher flow capacity, twin-tank configurations for continuous operation, and more demanding drain requirements. Facility managers frequently coordinate with plumbers and electricians to meet building codes, especially in multi-unit properties or industrial settings. Commercial projects also tend to require more detailed water hardness testing across multiple points in the building.
Distributors and OEM buyers sourcing equipment for larger projects should factor in these differences early, since retrofitting a commercial space afterward costs considerably more than planning correctly from the start.
Safety Tips During Installation
Installation work involves both plumbing and electrical elements, so a few safety habits matter throughout the process.
Always shut off the water supply completely before cutting any pipe. Wear eye protection when cutting or fitting pipes, since debris can scatter unexpectedly. Keep the electrical outlet dry and away from any active water lines during setup. Additionally, avoid overtightening plastic fittings, as excessive force can crack components that seem sturdy at first glance.
Taking these precautions protects both the installer and the equipment during the setup process.
When Should You Hire a Professional Installer?
Some situations call for professional help rather than a DIY approach.
If your local plumbing codes require licensed work for main line modifications, a professional installer keeps you compliant. Complex layouts, such as multi-story buildings or unusual pipe routing, also benefit from experienced hands.
Commercial water softener projects almost always warrant professional installation, given the higher stakes involved with flow capacity and building-wide water supply. Similarly, if you are unsure about drain requirements, electrical wiring, or local permitting, hiring a licensed installer reduces the risk of costly mistakes.
For technical benchmarks on installation best practices, the Pentair Learning Center offers useful reference material on water treatment plumbing standards.
Conclusion
A successful water softener system installation depends on careful preparation, correct plumbing connections, and accurate programming. From testing water hardness to running the first regeneration cycle, each step plays a role in how well your system performs over time.
Homeowners with basic plumbing skills can often complete the process independently, while commercial buyers and facility managers typically benefit from professional support. Either way, following the steps outlined above gives you a strong foundation for reliable, soft water for years ahead.
If you would like to explore how softeners compare to other treatment options, take a look at our guide on water softeners versus water filters, or review the differences between salt-based and salt-free systems before finalizing your choice. For a complete overview of everything covered across this series, revisit our guide on what a water softener system is, or browse our full range of water softener systems to find the right fit for your home or facility.
RELATED POSTS
Commercial UV Water Sterilizer: Applications, Benefits and Selection Guide
How To Remove Salinity From Water
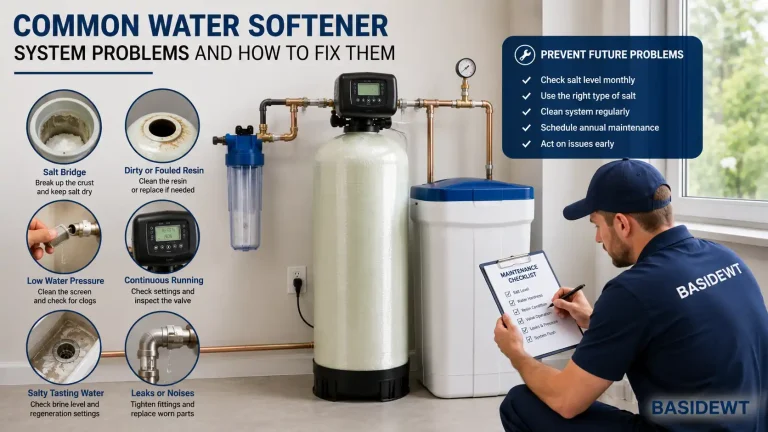
Common Water Softener System Problems and How to Fix Them
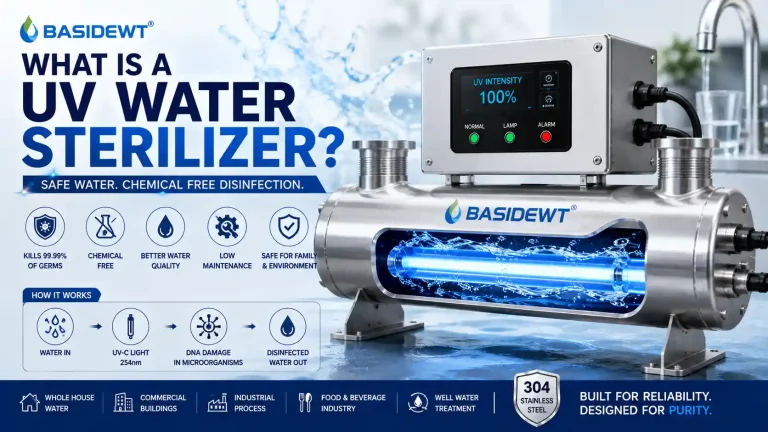
What Is a UV Water Sterilizer? Complete Beginner’s Guide
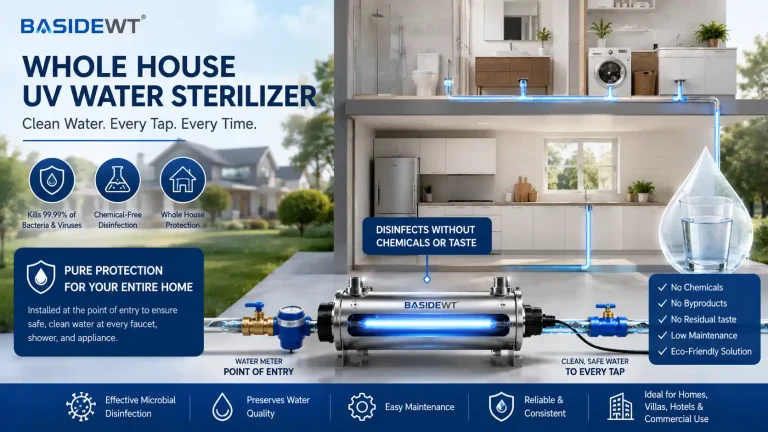
Whole House UV Water Sterilizer: How It Works and When You Need One