BasideWT- Whole Home Water Filtration System & Replacement


Common Deionized Water System Problems and How to Fix Them
Deionized Water System Problems can reduce water quality, increase operating costs, and lead to unexpected downtime if they are not identified early. From exhausted resin and clogged filters to inaccurate conductivity readings, these issues can affect the performance of any DI water system, regardless of its size or application.
Understanding common Deionized Water System Problems helps operators diagnose faults quickly, maintain consistent water purity, and avoid unnecessary repairs. Most failures follow predictable patterns, and knowing the warning signs makes troubleshooting faster and more cost-effective.
This guide explains the ten most common Deionized Water System Problems, their likely causes, and practical solutions to keep your system operating efficiently. If you want to understand the fundamentals before troubleshooting, our guide on What Is a Deionized Water System provides a solid foundation.
Why Deionized Water Systems Develop Problems
Most DI system failures trace back to a handful of root causes. Feed water quality, resin condition, and mechanical wear all play a role.
Hard or heavily contaminated feed water places extra strain on resin, causing it to exhaust faster than expected. Skipping pretreatment steps compounds this problem significantly.
Mechanical issues, such as worn seals or clogged filters, also disrupt flow and pressure. Left unaddressed, these small issues tend to snowball into larger, costlier failures.
Understanding how the system works in the first place makes troubleshooting far easier. Our article on How Does a Deionized Water System Work explains the ion-exchange process that underlies most of these problems.
10 Common Deionized Water System Problems
Here’s a closer look at the issues operators run into most often, along with their warning signs and root causes.
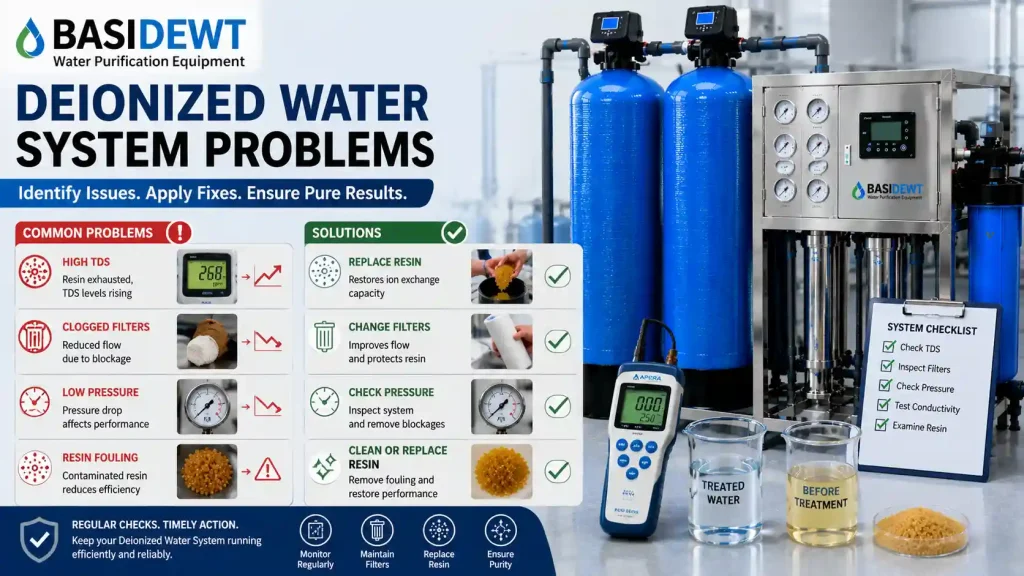
High TDS After DI System
Rising total dissolved solids after the DI stage usually signals resin exhaustion. Once resin runs out of exchange capacity, ions pass straight through untreated.
Check your What Does a TDS Meter Measure? readings against baseline values. A steady upward trend, rather than a sudden spike, typically points to gradual resin depletion rather than a mechanical fault.
Resin Exhaustion
Resin exhaustion happens when all available exchange sites become saturated with ions. This is a normal part of the resin lifecycle, but timing matters.
Warning signs include falling resistivity, rising conductivity, and reduced water quality despite normal flow rates. Regular testing with a How to Check TDS with a TDS Meter routine helps catch exhaustion before it affects downstream processes.
Poor Water Flow
Reduced flow often comes from clogged pretreatment filters or a partially blocked resin bed. Sediment buildup restricts water movement through the tank.
Check filter pressure differential first. A large pressure drop across the filter housing usually confirms clogging as the cause.
Channeling Inside Resin Bed
Channeling occurs when water finds an easy path through the resin bed instead of flowing evenly across the entire surface. This reduces contact time between water and resin, lowering treatment effectiveness.
Uneven resin settling, air pockets, or improper backwashing often cause channeling. Output water quality may fluctuate unpredictably when this happens, even with fresh resin installed.
Pressure Drop
A sudden pressure drop across the system usually indicates a blockage somewhere in the flow path. Common culprits include clogged prefilters, fouled resin, or a stuck valve.
Isolate each component individually to narrow down the source. Testing pressure before and after each stage helps pinpoint exactly where the restriction occurs.
Low Water Quality
Low water quality without an obvious mechanical cause often points to resin fouling, incorrect resin type, or contaminated feed water bypassing pretreatment.
Cross-check conductivity readings at multiple points in the system. If quality drops specifically after the resin tank, the resin itself is the most likely culprit.
Resin Fouling
Fouling happens when organic material, iron, or biological growth coats resin beads, blocking their exchange sites. Unlike exhaustion, fouling isn’t solved by simple regeneration.
Iron fouling often gives resin an orange or brown tint. Organic fouling tends to reduce capacity gradually while leaving no obvious visual signs, making conductivity testing essential for detection.
Incorrect Pretreatment
Skipping or under-sizing pretreatment is one of the most common root causes behind repeated DI system failures. Without adequate sediment and carbon filtration, resin absorbs a much heavier ion load than designed.
This mistake shows up as unusually fast resin exhaustion, even when feed water seems relatively clean. Reviewing pretreatment specifications against actual feed water conditions usually reveals the gap.
Air Trapped in the System
Trapped air reduces contact between water and resin, leading to inconsistent output quality. It also causes unusual noise or sputtering at output points.
Air typically enters during system startup, after maintenance work, or when tanks run dry unexpectedly. Bleeding air valves properly during startup usually resolves this issue.
Conductivity Reading Problems
Sometimes the system works fine, but the reading itself is wrong. Sensor drift, dirty probes, or poor calibration all produce inaccurate conductivity data.
Regular calibration against known reference solutions keeps readings reliable. If actual water quality doesn’t match what visual inspection or downstream performance suggests, the sensor deserves a closer look before you assume resin failure.
Step-by-Step Troubleshooting Guide
When something goes wrong, a structured approach saves time and avoids unnecessary resin replacement.
- Check conductivity or TDS first. This tells you whether the problem is a genuine water quality issue or something else, like flow rate.
- Inspect pretreatment filters. Clogged or bypassed filters are a leading cause of premature resin failure.
- Test pressure at each stage. Compare readings before and after filters, RO membranes, and resin tanks to isolate blockages.
- Examine the resin visually. Discoloration, clumping, or unusual odor can indicate fouling rather than simple exhaustion.
- Verify sensor calibration. Rule out equipment error before assuming a resin or mechanical problem.
- Review recent maintenance history. Sometimes the cause traces back to a missed filter change or delayed resin replacement.
- Confirm feed water hasn’t changed. Seasonal shifts in source water hardness or turbidity can throw off previously stable systems.
Working through these steps methodically usually narrows the problem down quickly, without unnecessary part replacement.
Preventive Maintenance Tips
Many of the problems covered above are preventable with consistent upkeep. This guide to conductivity, TDS, and resistivity testing explains how these readings correspond directly to dissolved ion concentration, making routine conductivity testing one of the most reliable early indicators of declining water purity.
Build a habit of checking conductivity daily, inspecting filters weekly, and reviewing resin condition monthly. These small checks catch problems long before they become visible failures.
Strong pretreatment remains one of the most effective preventive measures available. Systems that pair reverse osmosis with deionization tend to experience fewer resin-related failures, since RO removes the bulk of dissolved solids before water reaches the DI stage. Our comparison guide on Deionized Water vs Reverse Osmosis Water explains this relationship in more depth.
For a broader maintenance routine covering daily, weekly, and monthly tasks, our Deionized Water System Maintenance Guide offers a complete preventive checklist.
When Should You Replace the Resin Instead of Repairing?
Not every problem calls for a full resin replacement. Simple issues like trapped air, dirty sensors, or clogged prefilters can often be resolved without touching the resin bed at all.
Replacement becomes necessary when conductivity stays high even after ruling out mechanical causes. Fouled resin that doesn’t respond to regeneration also needs replacement, since continued use won’t restore capacity.
As a general rule, if resin has reached the end of its expected service life, or if repeated testing confirms exhaustion rather than a temporary fault, replacement is the more cost-effective path. Our guide on How to Change Resin in a DI Tank walks through the replacement process step by step.
Industries with strict purity requirements, such as electronics manufacturing or pharmaceutical production, tend to replace resin proactively rather than waiting for full exhaustion. This approach reduces the risk of a quality failure mid-production. Our article on Deionized Water System Applications explains why different industries set different tolerance thresholds for this decision.
Final Thoughts
Most Deionized Water System Problems follow recognizable patterns, from resin exhaustion to pretreatment gaps to sensor drift. Recognizing the warning signs early keeps repairs simple and affordable.
A structured troubleshooting approach, paired with regular conductivity monitoring, prevents small issues from turning into costly downtime. Businesses that rely on consistent purity, including those using a Deionized Water Cleaning System, benefit especially from catching problems before they reach the point of visible quality loss.
For a complete overview of system selection, setup, and long-term care, revisit our Complete Deionized Water System Buying Guide to bring these troubleshooting fundamentals together with the bigger picture.
RELATED POSTS
UV Water Sterilizer: Types, Working, Benefits, Applications, Maintenance & Buying Guide
Water Filter System Buying Guide: What Should You Look For?
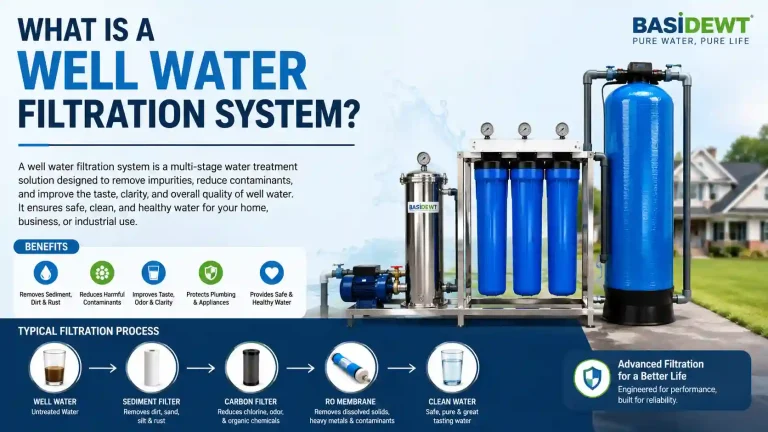
What Is a Well Water Filtration System? Complete Guide for Homeowners
How Much is Whole House Water Filtration? A Comprehensive Guide to Understanding Costs and Benefits
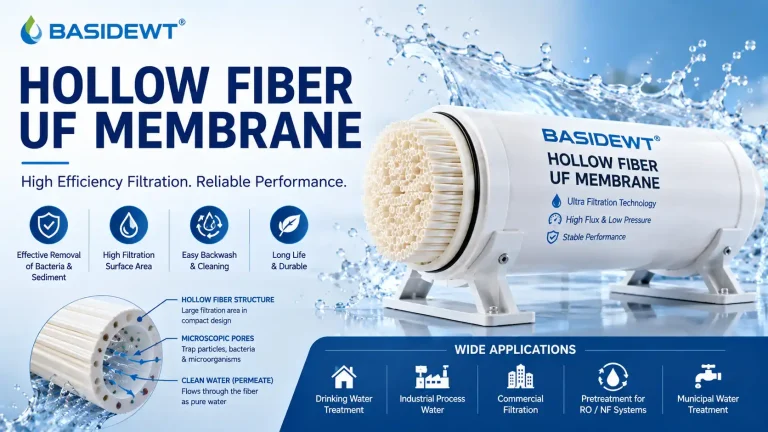
Hollow Fiber UF Membrane: Working, Benefits & Applications